 “Marking tools, burnishing tools”
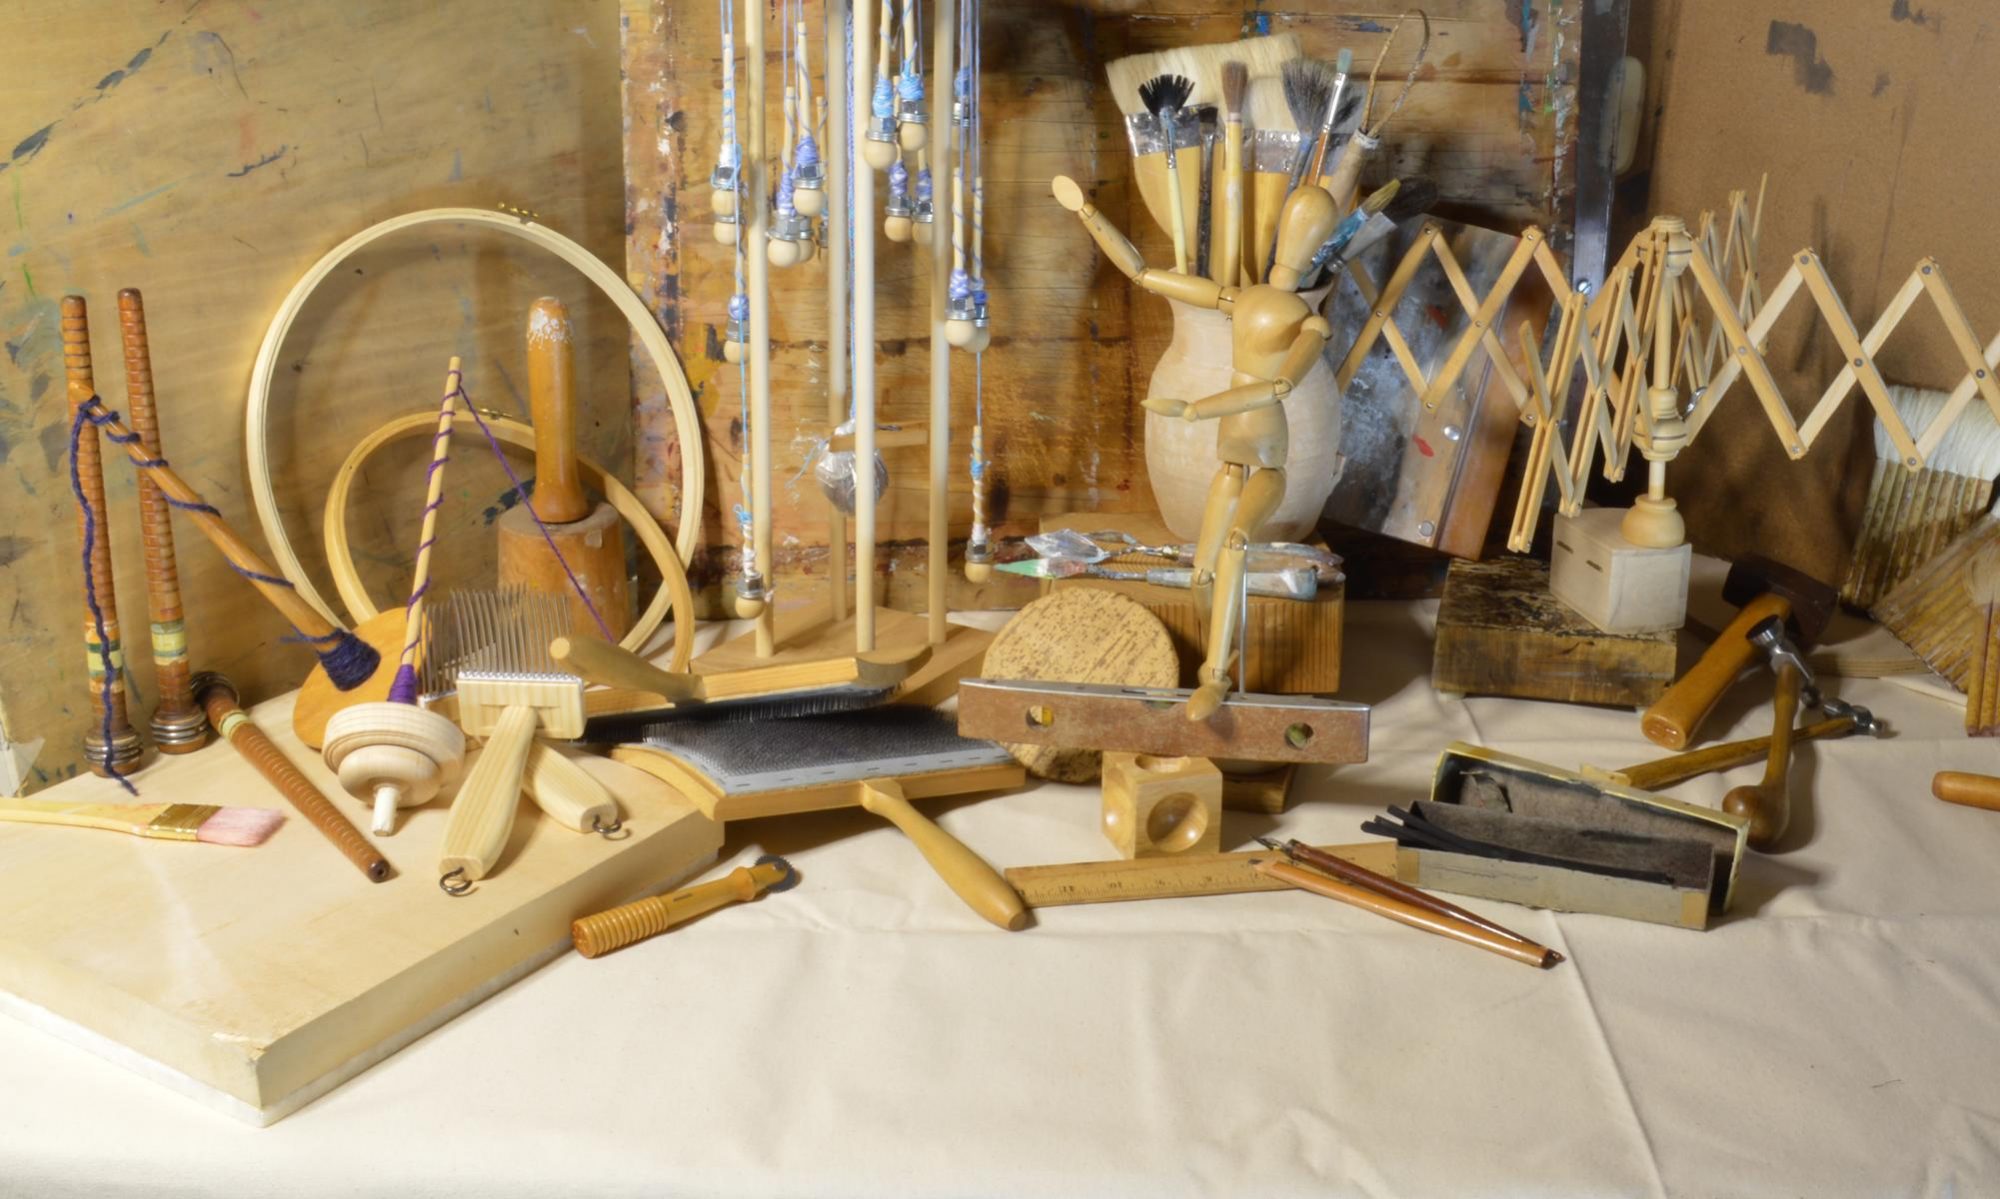
After setting up the photograph to support the text for the previous post, “Burnish to Reflect”, we went on to rearrange the subjects. The challenge was how to photograph burnishers without making it look like an advertisement for the tool manufacturer. The compositions that appealed to us the most had both tools to make marks and ones to burnish. Since the article can be read as about life experience as well as an art technique, having more props still makes the photographs work for the theme.
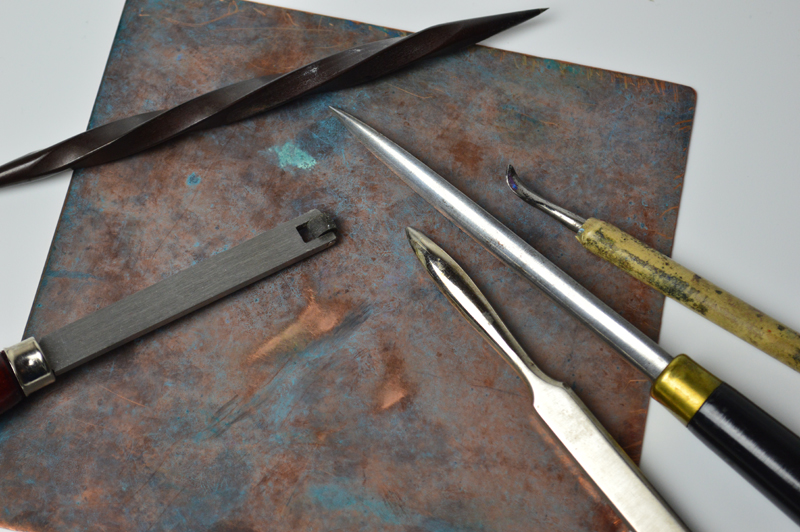
For the backgrounds, oxidized copper seemed to have so much more character than brightly polished. Also, it helped cut down on reflecting the light TOO much! As it was, we used a lot of bounced light rather than direct lighting these compositions with so many flat and curved metal surfaces.
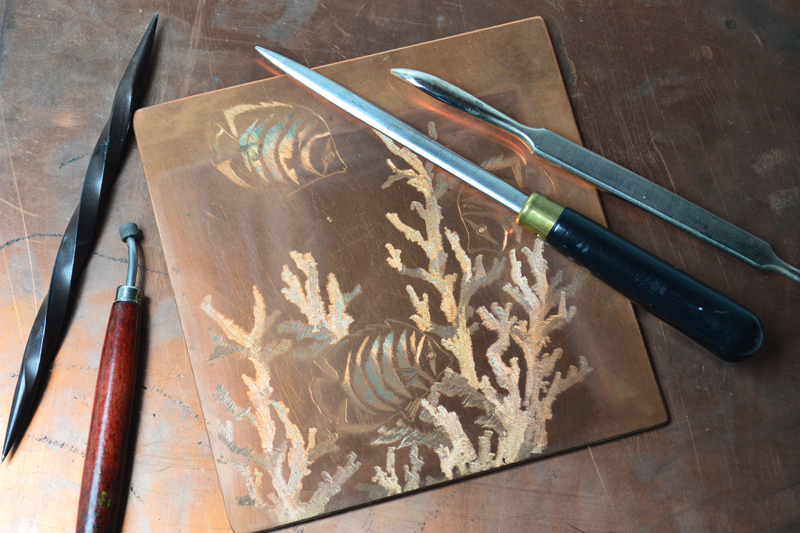 Photography note: the plate is lifted off the background to change the way the light caught the edges. The range of warm and cool highlights in the reflections was brought out with multiple lamps each with different watt bulbs.
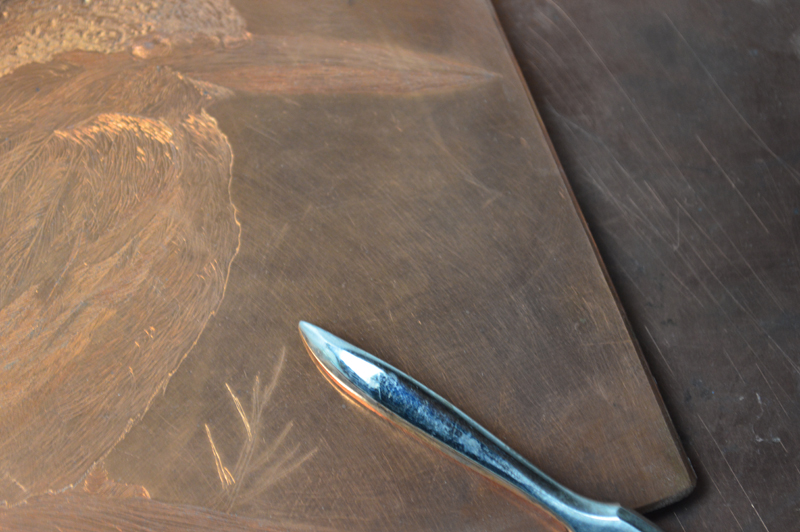 Photography note: Not all “hot spots” are bad, we like the bright reflection on the burnisher’s top surface since it reinforced the idea of bright light playing off shiny spots. The shape of the hot spot also echoes the shape of the bird’s beak, a happy accident that didn’t show up through the camera lens.