
 From the previous posting you can tell that for the third example in this series not only are we warmed up, but we are also starting to have fun with the whole layout and photograph part of the project. That is the benefit of an exercise, getting really “into it” and stretching the original ideas (and letting yourself be stretched in the process).
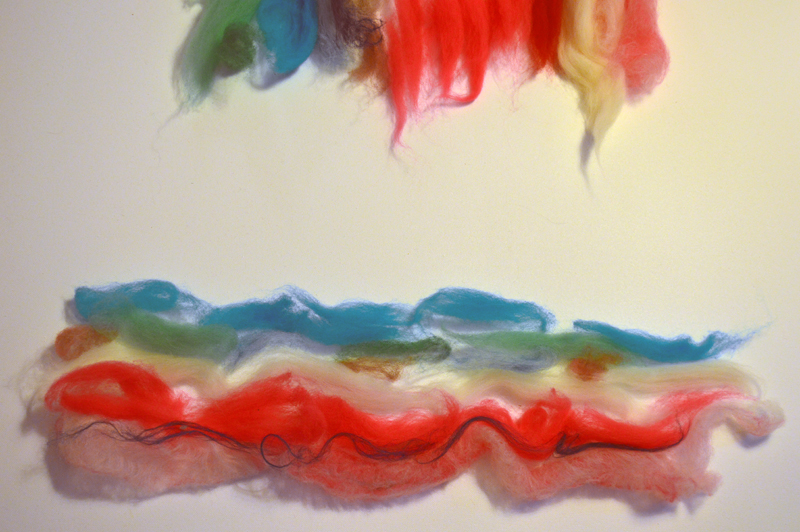
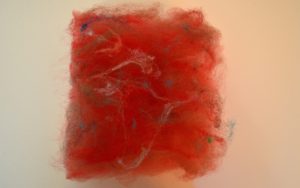
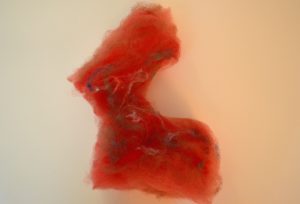
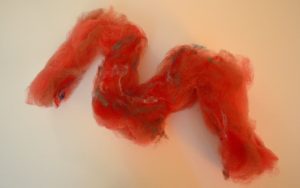
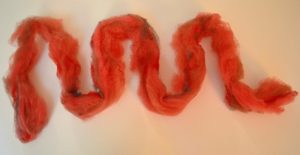
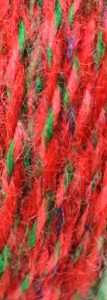
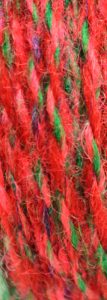
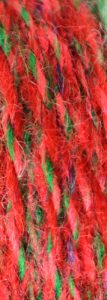
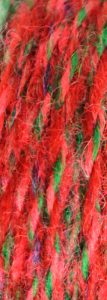
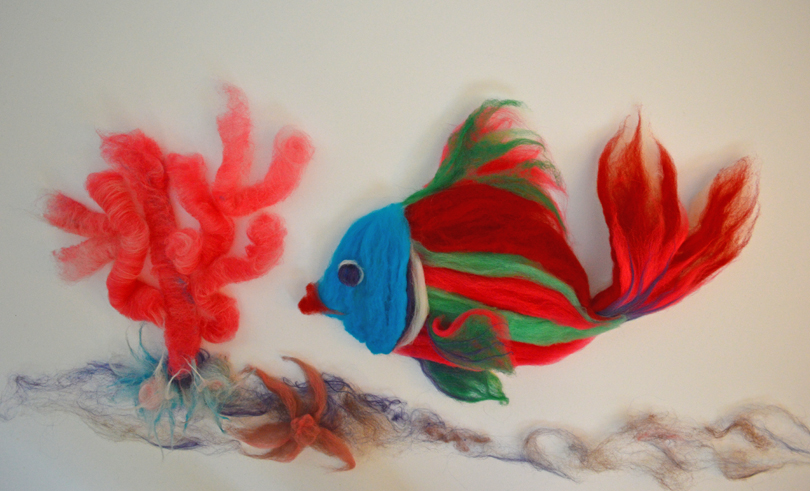 Kissy Lips, a Rare Roving Fish with Rolag Coral and Anemones (the starfish worked its way in when we weren’t looking!)
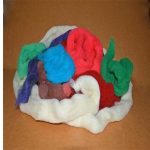
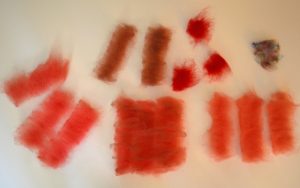
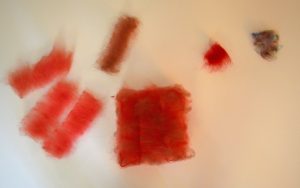
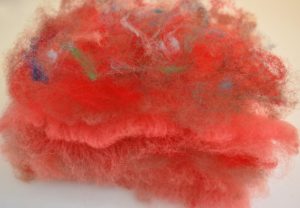
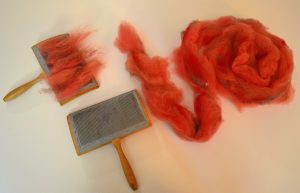
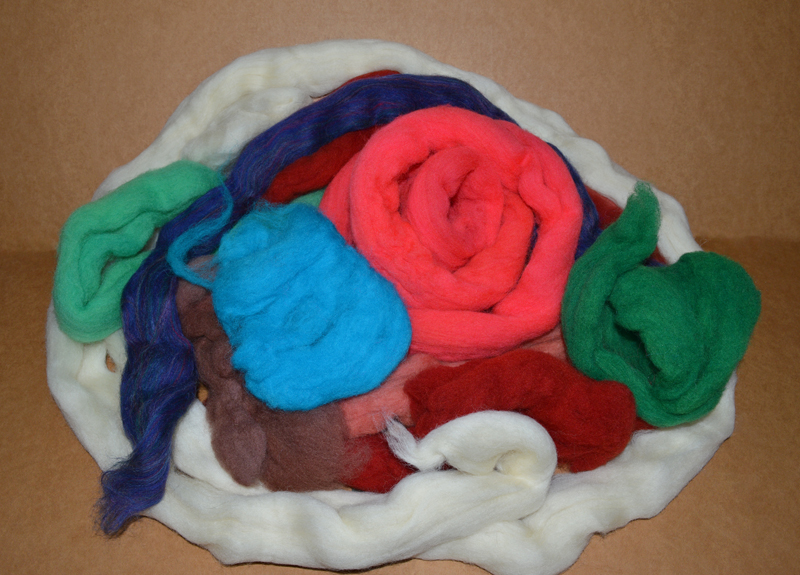
 The wool colors that made up the Kissy Lips composition, including the hairpins that held it all together.
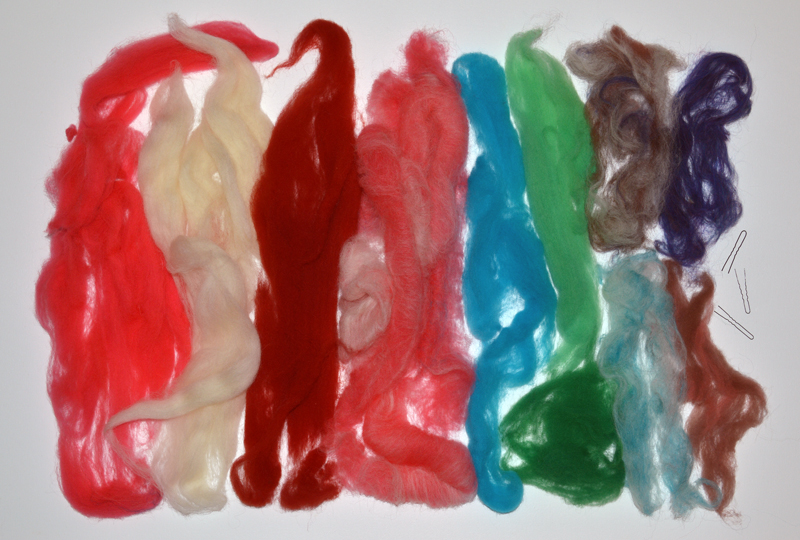
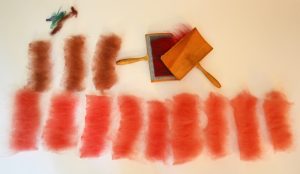
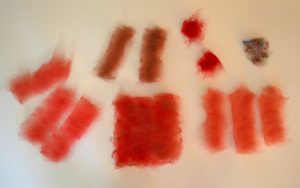
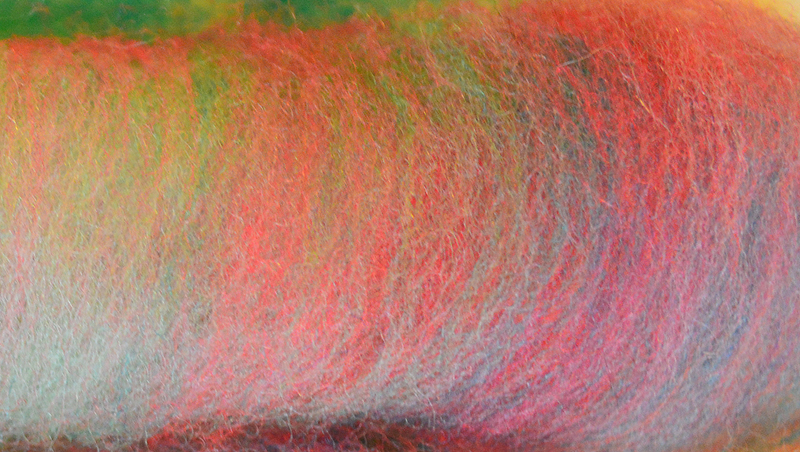
 Dividing up the colors in preparation for carding. This stage helps to plan out the color progression throughout the skein. I think of it as creating a recipe for the yarn.
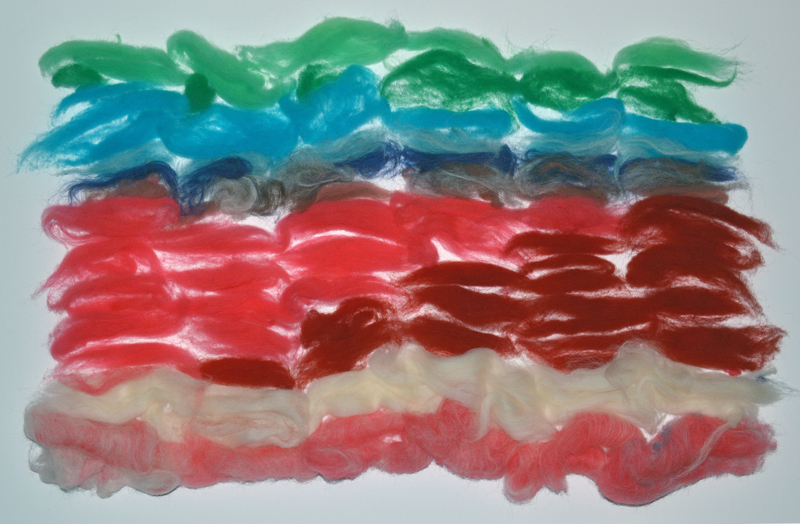
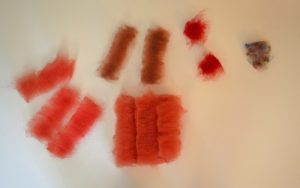
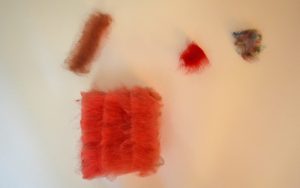
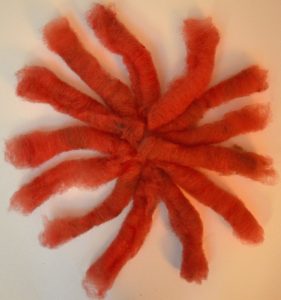
 Further dividing up the wool for carding into each rolag.
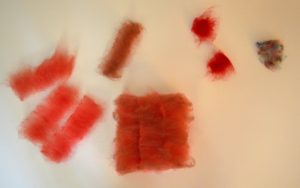
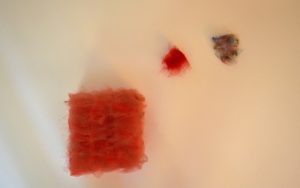
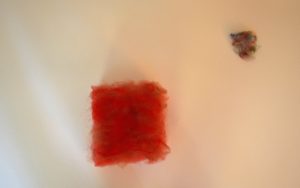
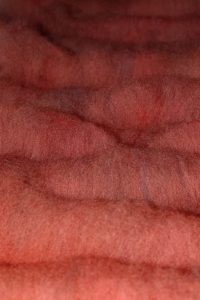
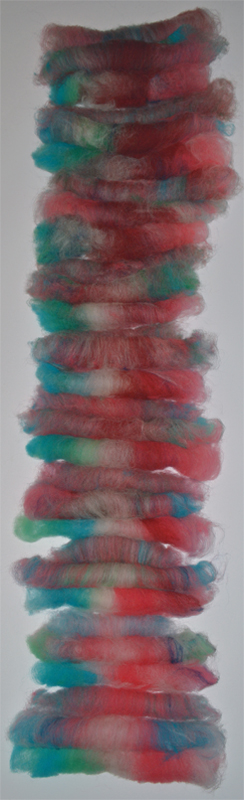 All the carded rolags in order waiting to be spun. So far, none of this project has been somber!
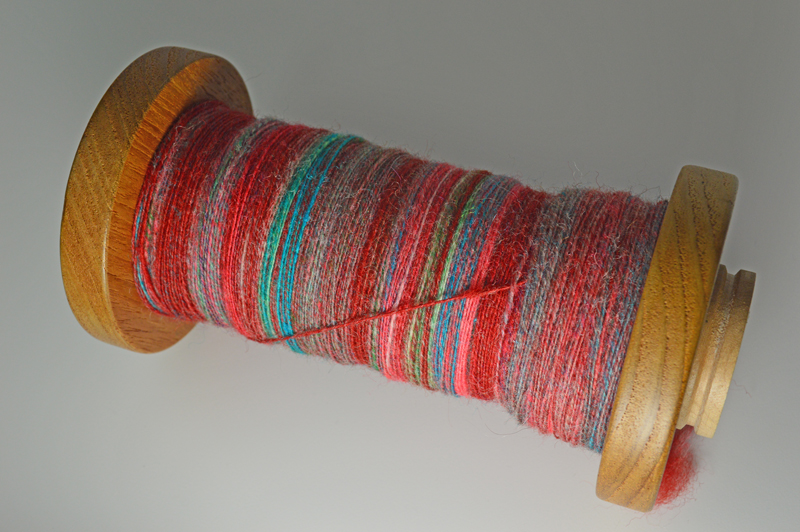 Working name: “Farrell’s Ice Cream Parlour”. Lively single S-twist yarn spun and wound onto a bobbin made by Bob Metcalf. As the carded wool transformed into yarn, the colors passing by reminded me of that famous ice cream parlor from our childhood, recalling smells and sounds (that drum that announced birthday sundaes was SO loud!) and brought back memories for friends too when I described the sensations.
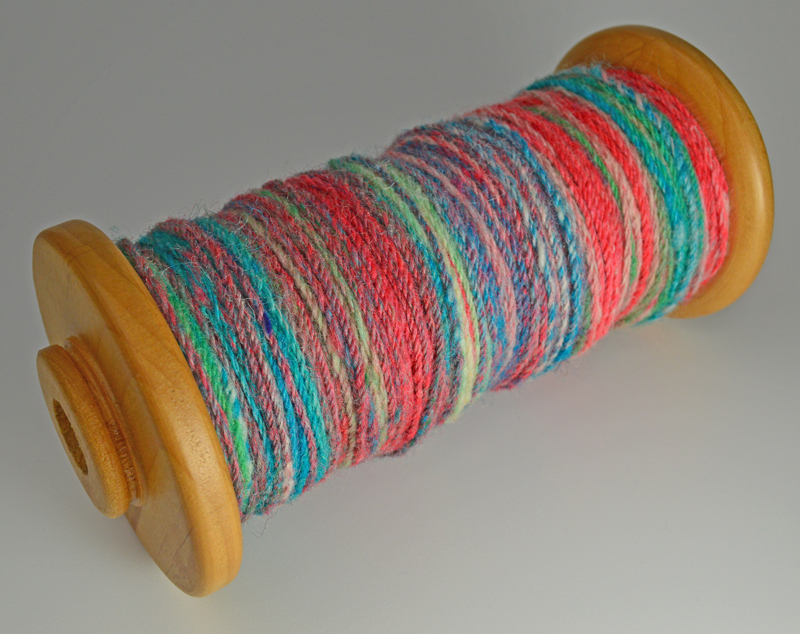 The single was chain-plied with a “Z-twist” forming new color combinations throughout the length of the yarn. This time, instead of the yarn stirring up memories, the colors gave me ideas of combinations to try in the future. Every few inches was a color mixing sample swatch. More wool! More yarn! More time! Please!
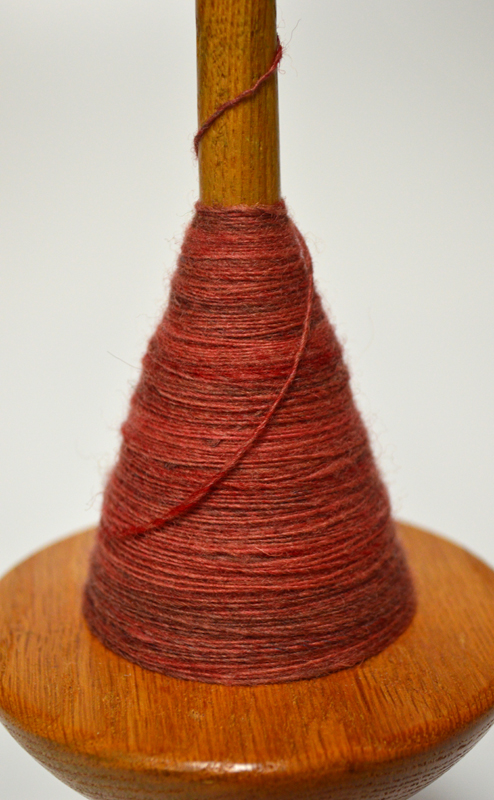
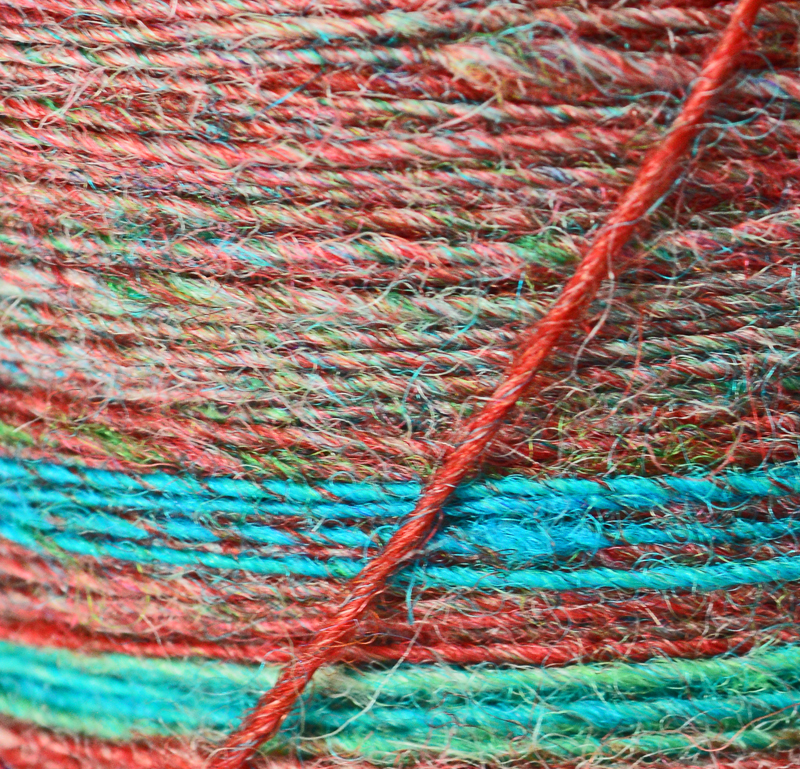
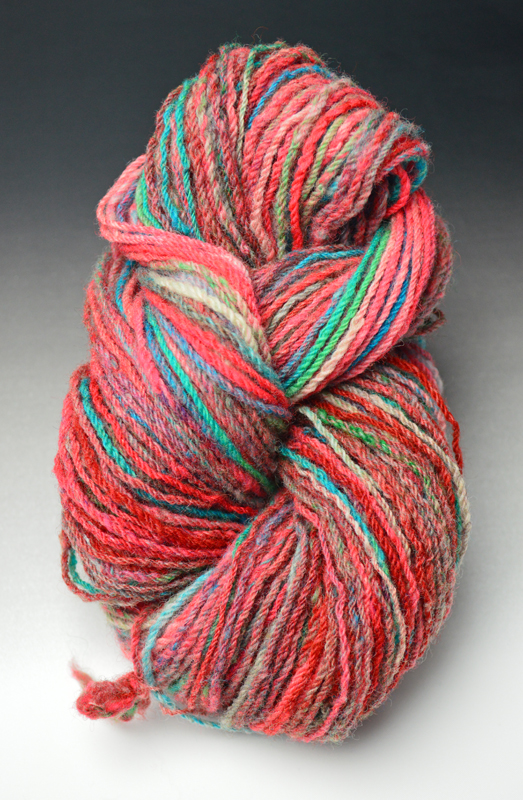 Finished skein.
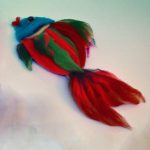
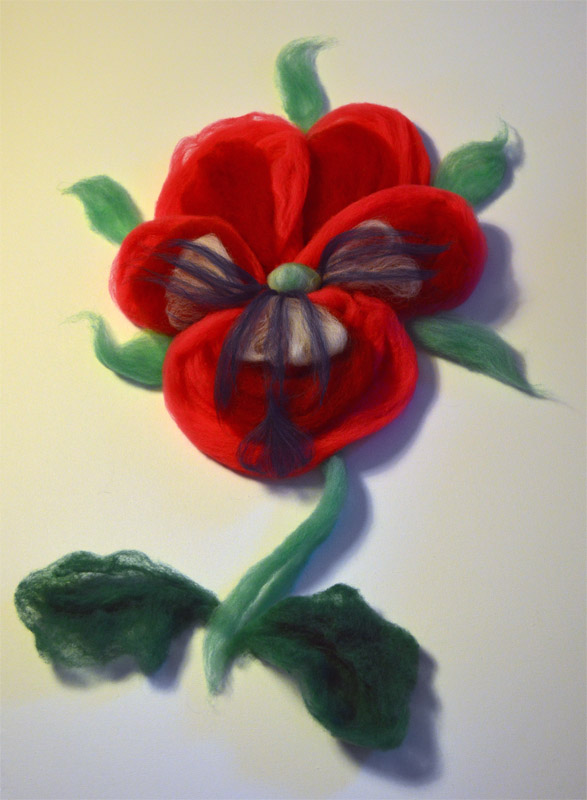
What do you think Kissy Lips?
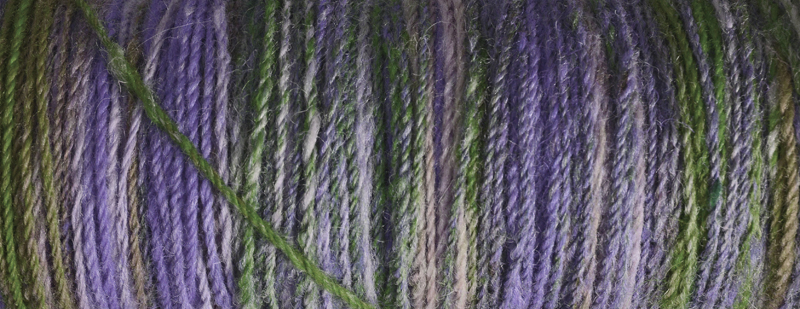
 Hand-dyed *Heartsease
 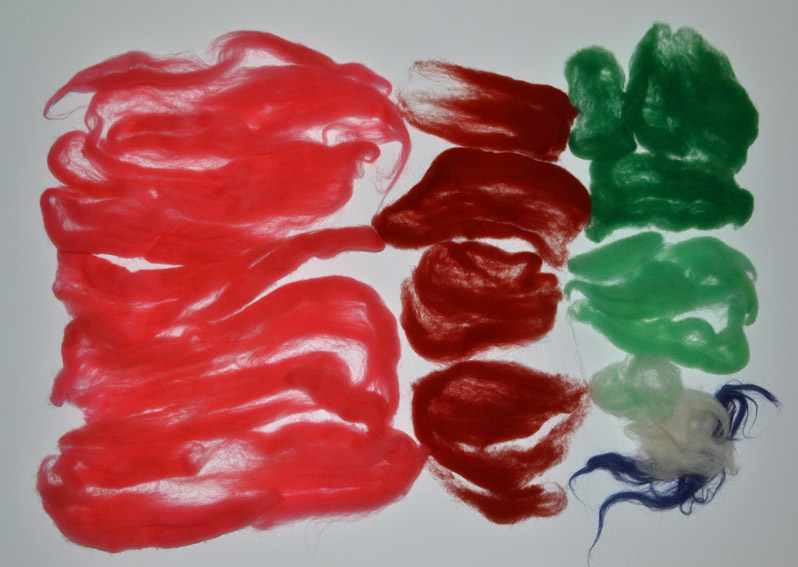 Fiber that went into the Heartsease. Ready for the next stage . . .
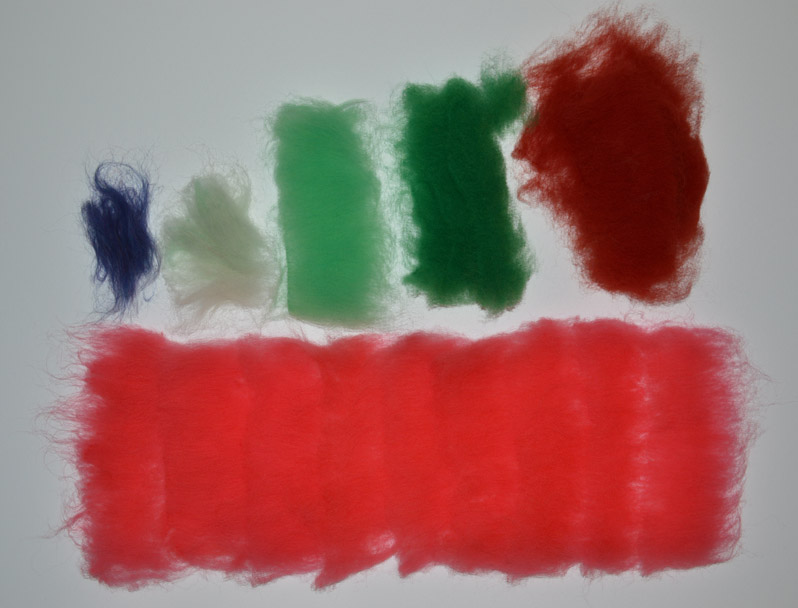 A light carding was just the thing to let those fibers draw out! Here, arranged by colors.
 Trying out another way to arrange the colors in the skein (works well in small spaces and with minimal equipment). Perhaps this will lead to a series of wool omlettes, burritos, or Dagwood Sandwich!
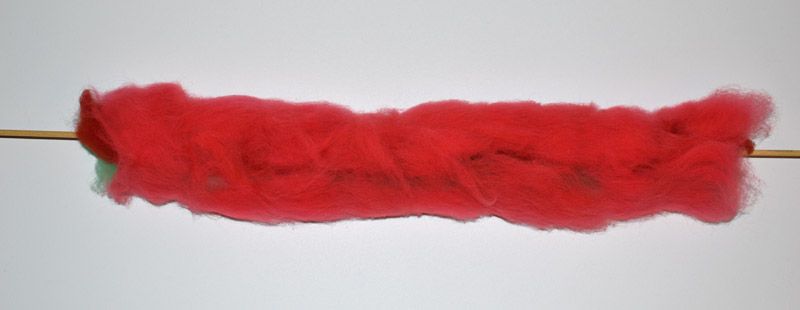 After arranging the fiber colors in rows and layers, a wooden dowel helps to roll everything in a tidy cylinder.
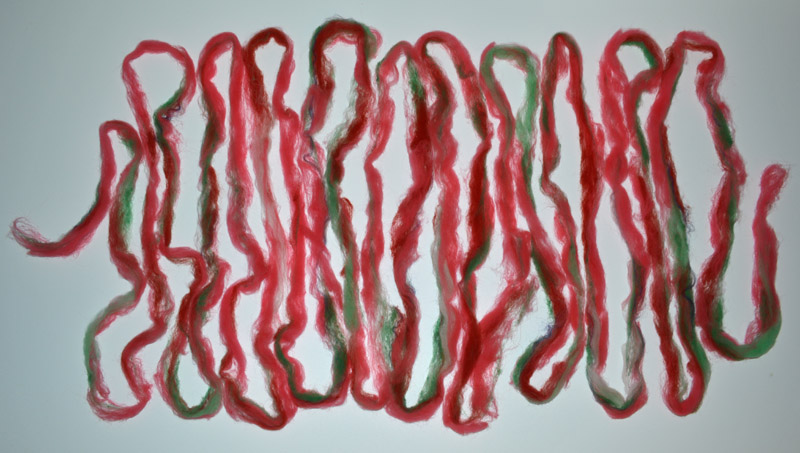 The next step is to patiently draw out the roll of fibers into a progressively thinner and longer bundle, this stage is called “pre-drafting”.
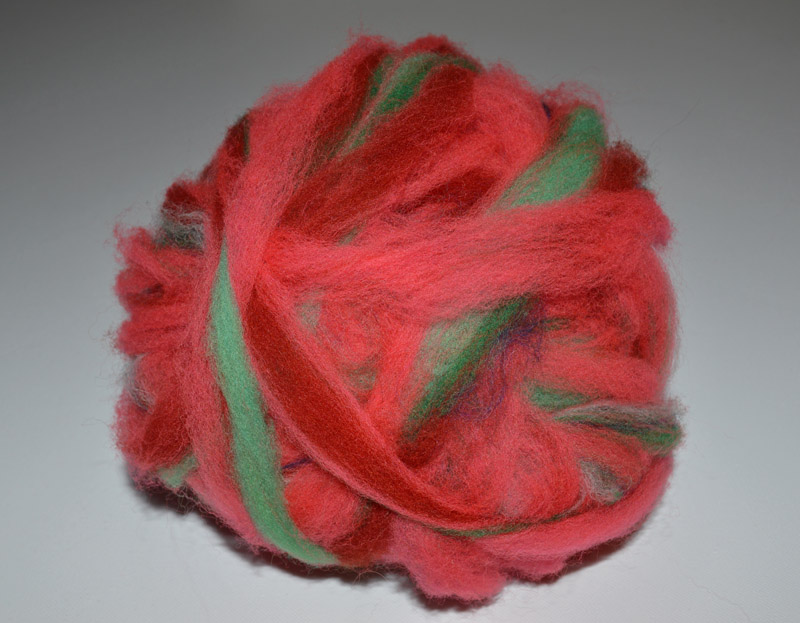 Gently rolling the pre-drafted fibers into a ball keeps everything from drifting apart and keeps it in handy proximity for spinning. Plus, it is fun!
 Yarn spun into a “single”.
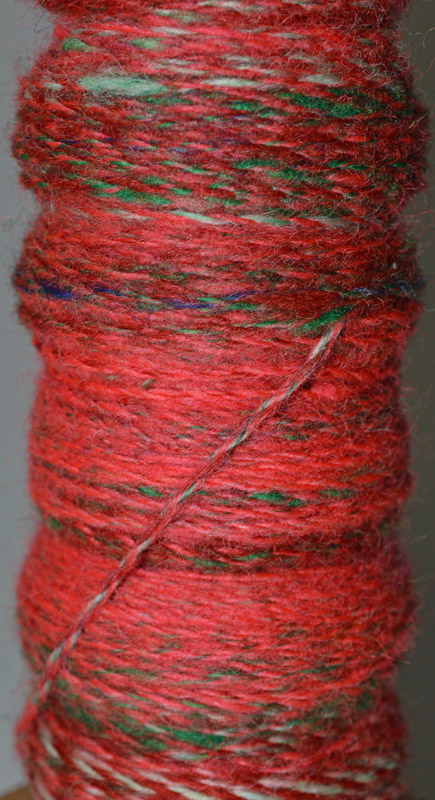 Yarn doubled back on itself and respun into a plied yarn.
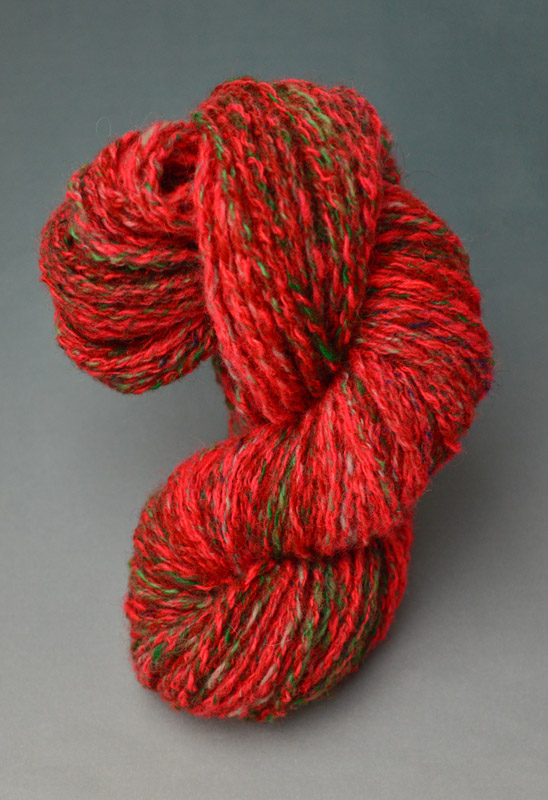 Final product is a skein as cheerful as a Heartsease!
 Wool Kitty is ready for a nap on the Dressmakers cardboard!
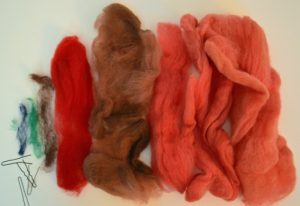


 Working title: “Firescale”, single ply yarn spun on a low whorl drop spindle
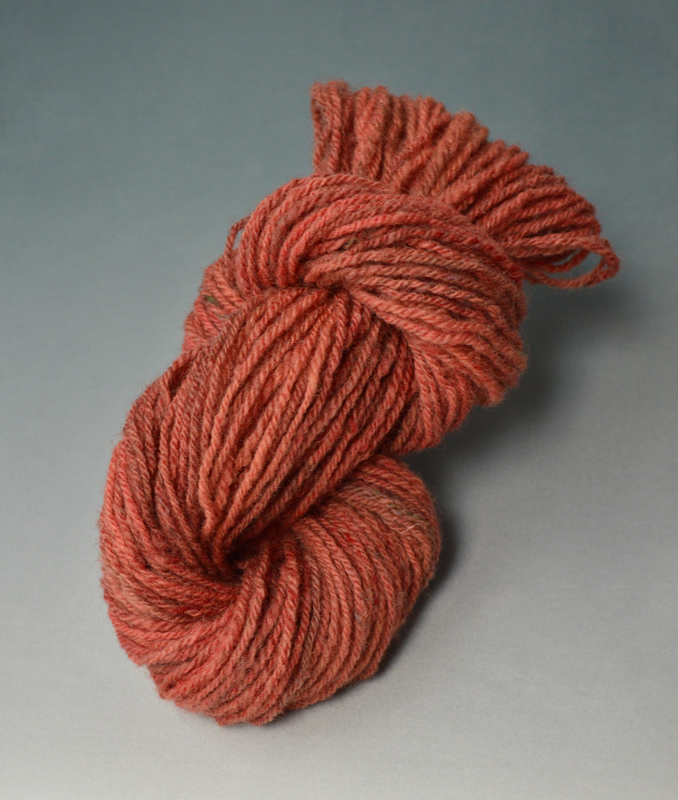
 Close-up of a wool “rolag”* waiting to be spun
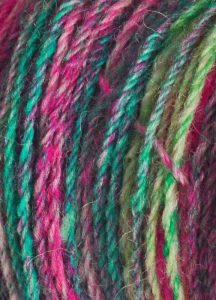 We are big fans of attending OFFF, our local fiber festival. Of course, the many vendors get our attention. It is also filled with demonstrations, barns full of animals and if the weather is cool enough – attendees dressed in sweaters and scarves- it is like a fashion show!
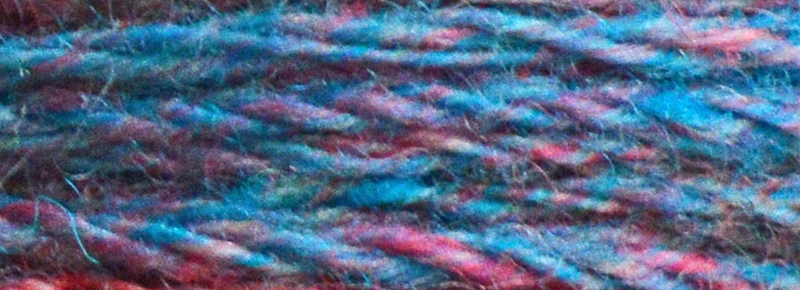 By now, it is starting to show that we put a lot of thought into our art supplies. This is especially true concerning annual sales events. The months leading up to OFFF are when we take stock of our supplies, really enjoy planning future projects and measure what is needed to finish works-in-progress that outgrew estimated boundaries (restraint can be a tough concept!)

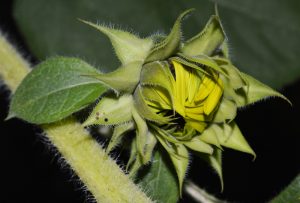
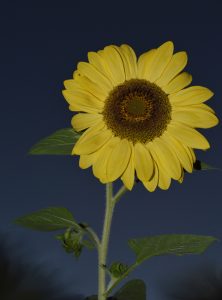
 Yellow Sunflower had grown with the loving care of its Gardener who protected it from every danger as seed and seedling, marveled at its hourly growth . . .
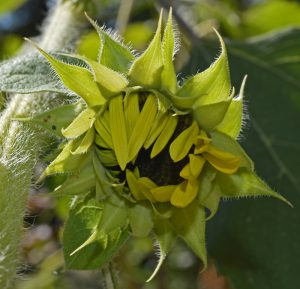
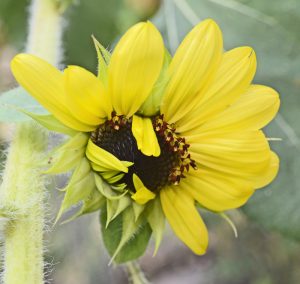
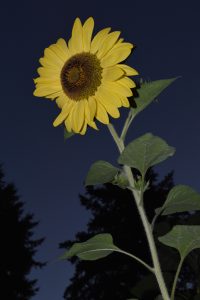
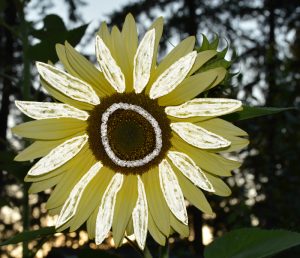
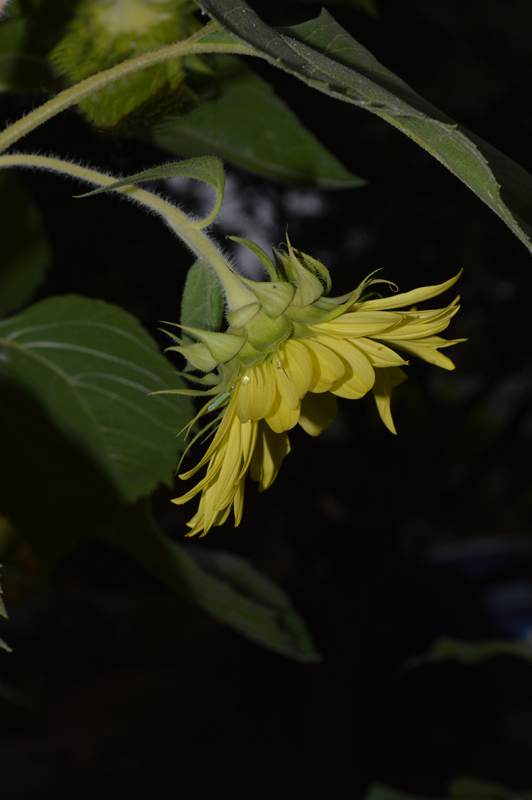
 Yellow Sunflower was so occupied with BASKING IN THE SUNLIGHT, DELIGHTING THE BEES, AND GROWING SEEDS FOR THE BIRDS, that it was oblivious to the special care it received from the Gardener.
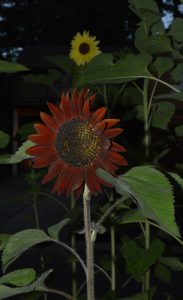
 What did catch Yellow’s attention was one day overhearing the Gardener’s excitement that there was a Red Sunflower about to open!
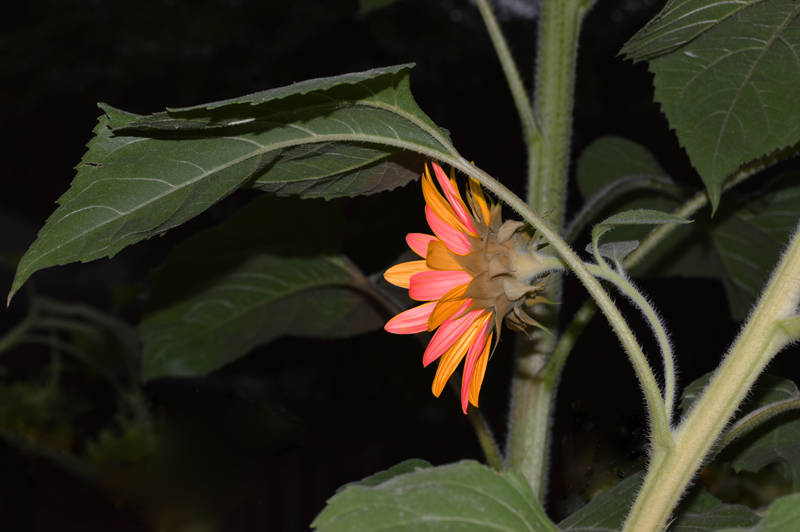
 The gloominess grew in the garden.

 “You might even say, ‘I’m hueless about how to change color!”

 Dawning of realization can occur after sunset for Sunflowers. For the benefit of those Dear Readers confined to a tiny screen:
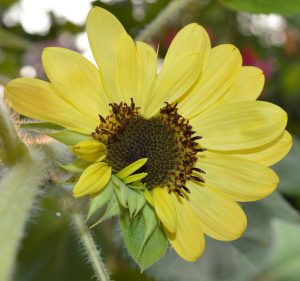
 And then, Yellow Sunflower realized the beauty in the garden was that ALL the sunflowers equally GLORIED IN THE SUN, NOURISHED THE BEES and GREW SEEDS TO SHARE IN THE FUTURE! Sharing one’s gifts is wonderful of course, but recognizing them in one another is what makes them feel like a gift! When Yellow appreciated Red’s gifts, Yellow felt special too!
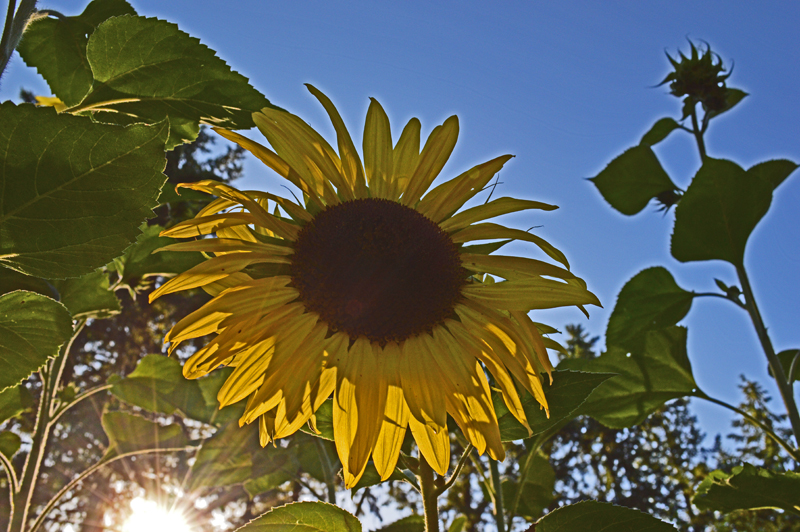
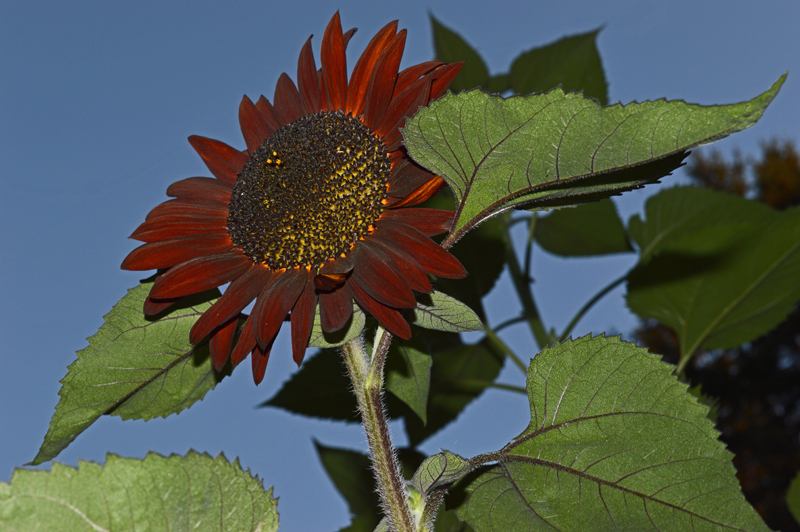

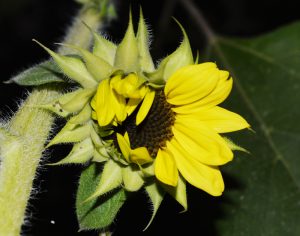
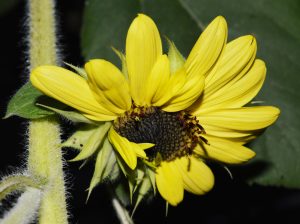
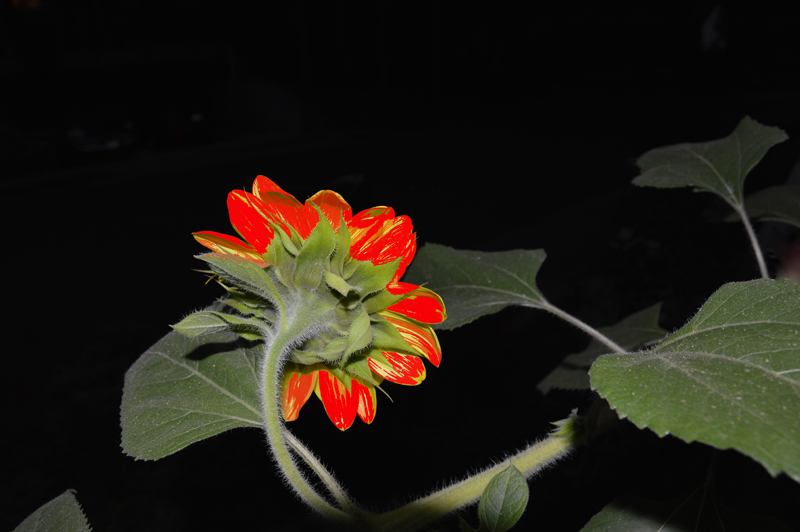
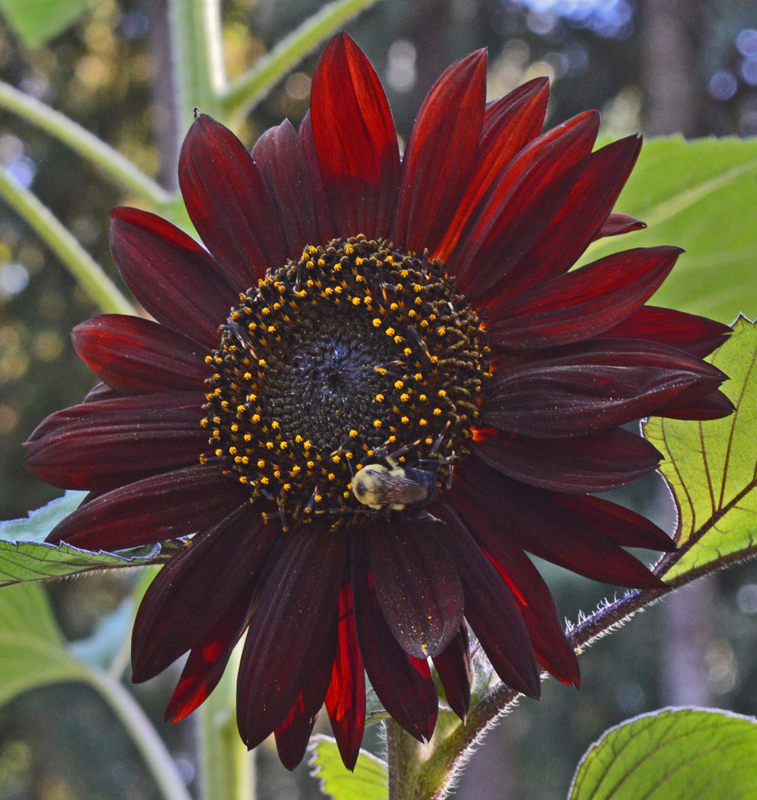
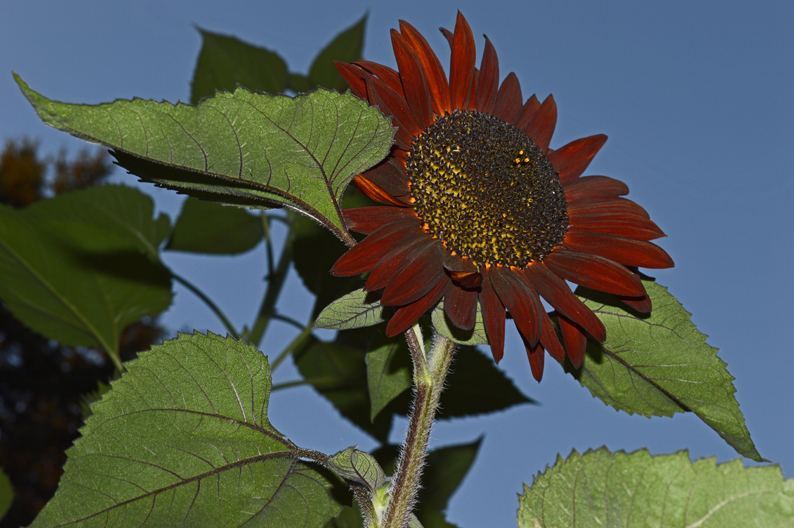 Red Sunflower was so occupied doing its own thing that it was completely oblivious to all this drama!
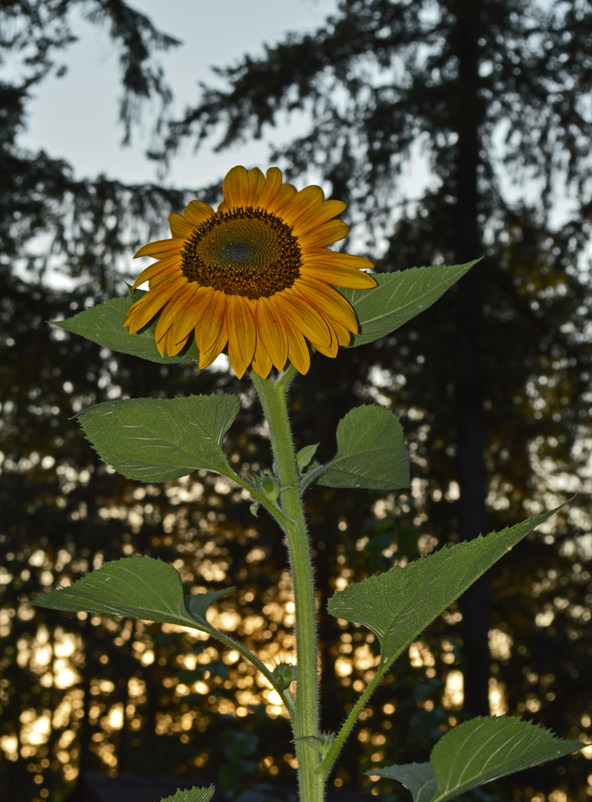
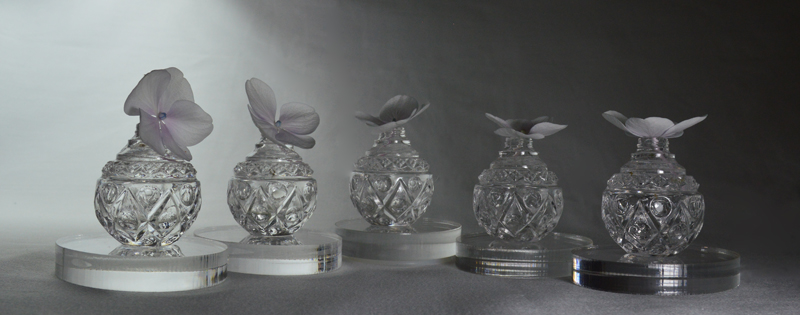 “White Hydrangea Sepals – Light Study”


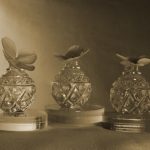


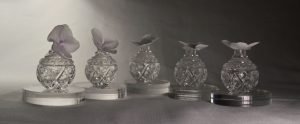 Photoshop: Warm filter
 Photoshop: Cool filter
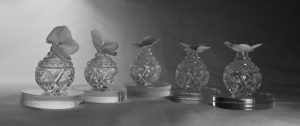 Photoshop: Black and White
 Photoshop: Cyanotype
 Photoshop: Sepia (click on the “brown tree” image)
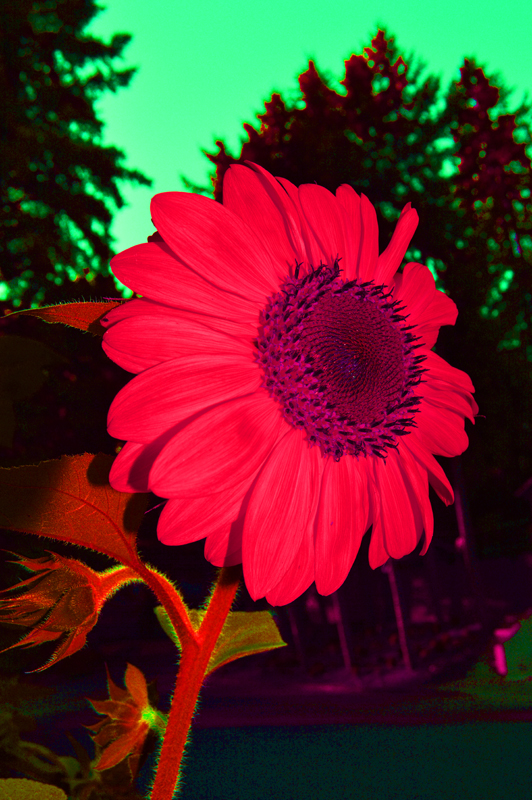
 Photoshop: Red (click on the “Red Tree” image)
 Photoshop: Green (click on the “Green Tree” image)
 Photoshop: Oops! Ran out of Tree images to click on!


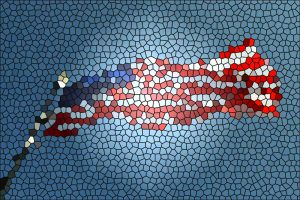 (Filter, Texture, Stained Glass)
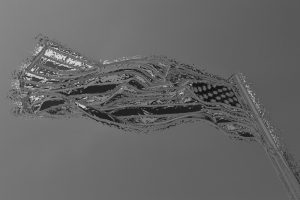
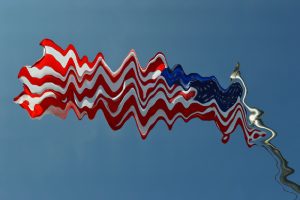
 “Star-Spangled Abstract” (Enlarged, Cropped, Rotated part of Chrome filtered version above)
 “Red, White and Blue in the Wild Blue Yonder”
 “What a great day at Long Beach, WA”