Rather than dilute the message in the previous blog, we saved the behind the scenes technical captions for this posting.
 “Eraser Still-Life” cropped and shadows-lightened version.
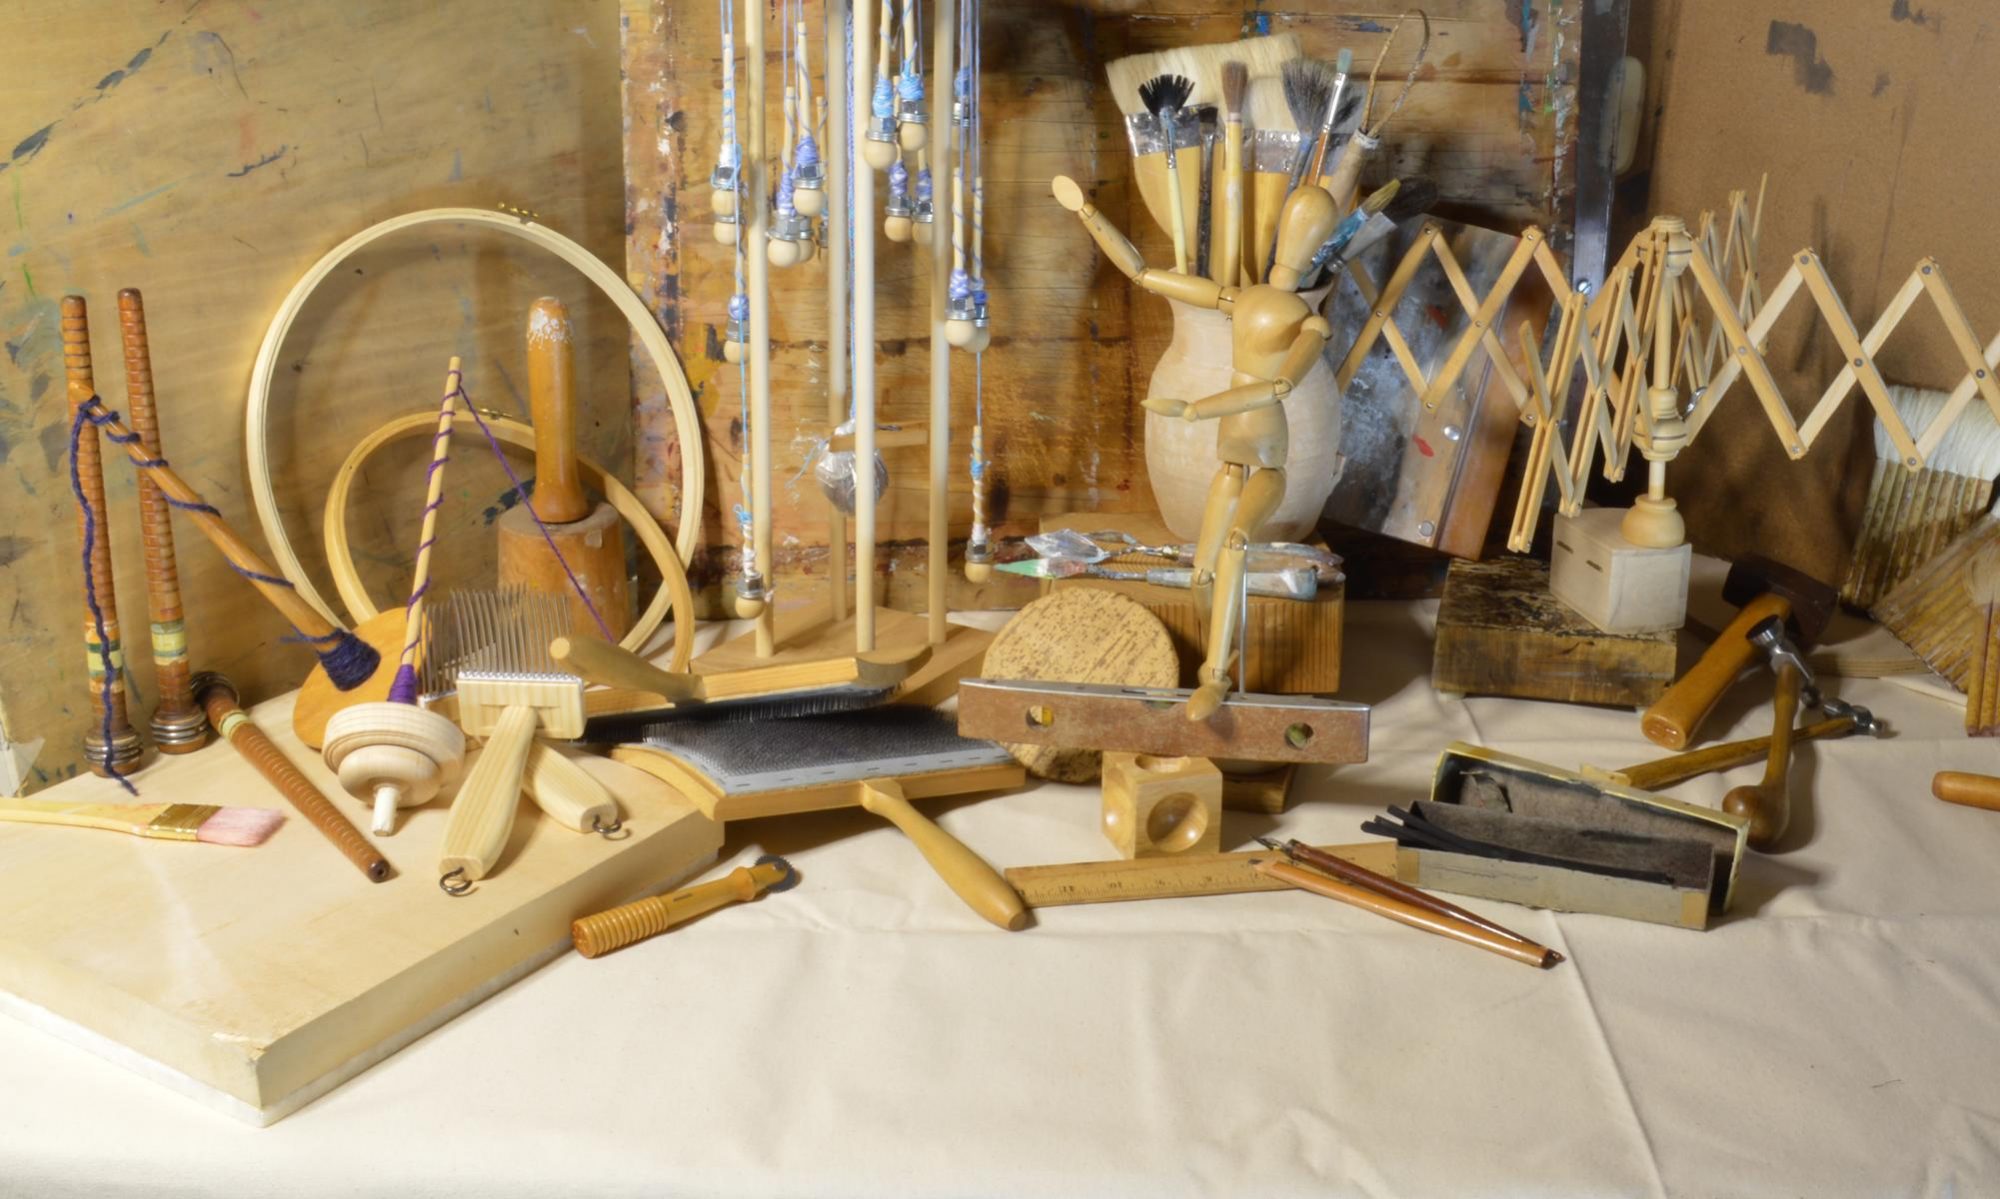
This is the original photograph of erasers from all around our work spaces. After photographing, we had to dismantle the composition because they are such heavily used tools around here!
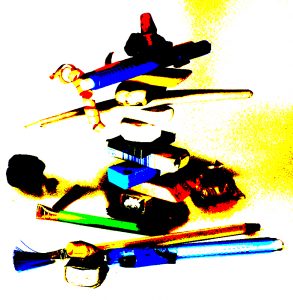
 “Eraser Still-Life” with Angled Strokes Photoshop filter
We miss the texture that actual thick paint applied with a palette knife would produce. All the same, if a person would like to see a bold version of the image this would certainly provide that.
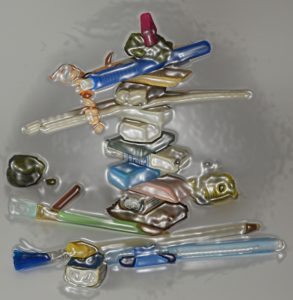 “Eraser Still-Life” with Plastic Wrap Photoshop filter
Well, this is a novel look. Perhaps someday it will help us design chocolate moulds!
 “Eraser Still-Life” with Posterize Photoshop filter
“Posterize”? Wonder who came up with this name?! Wonder if they “skateboardize” on the weekends?
Well, this look certainly is different for us. Quick! “UNDO”!
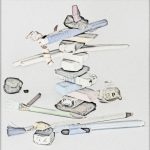
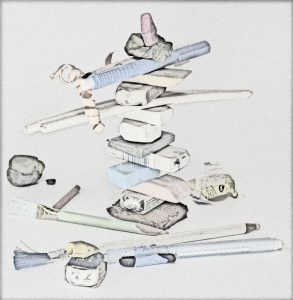 “Eraser Still-Life” with Pencil Lines Photoshop filter
Interesting. Perhaps playing with lighting will produce more variation in line thickness on the edges.
It is still more rewarding to actually draw the image. “UNDO”!
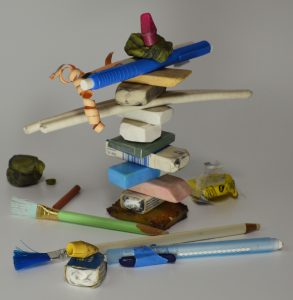
 “Eraser Still-Life” with dodging to lighten a few spots
Originally, that dark blob of rubber eraser on the far left center edge was chosen because it was so very used looking. It has erased miles in its day. However, in the actual photograph it came across more like a black rock and threw the balance off. Dodging, or removing a little of the black layer, revealed a tiny hint of the once very bright yellow and gave form to the shape. That worked so well that we dodged a little on the other graphite covered yellow rubber eraser (second from top) and added a touch on the “cherry on top” red eraser just to see what it would look like.
We feel the final photograph is the most successful (closest to what we were trying to achieve) and are excited to try out the new skill of dodging on future photographs.
Sigh… I still miss the old, and original, way of dodging with a little disc of paper on the end of a wire waved around in the light of the enlarger over the exposed paper in the darkroom. -A.
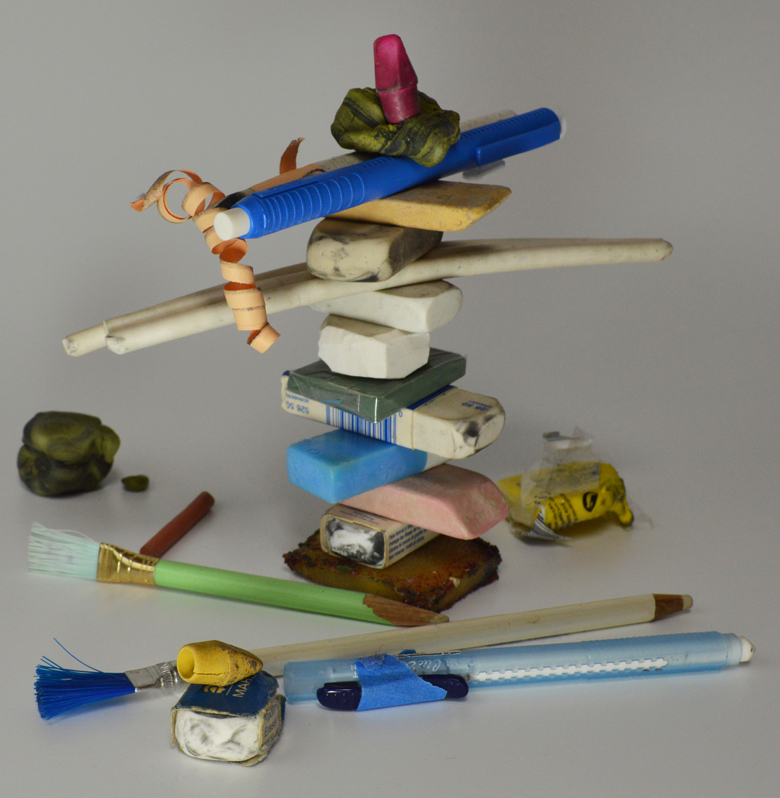 “Eraser Still-Life” various erasers from our studios, “Dodge” feature example
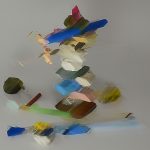 While learning about unfamiliar Photoshop options for our digital photographs the “undo” button has become our most used option. For those unfamiliar with this feature, it erases experiments so it is risk-free to try out all sorts of new looks for a photograph. Click on “Edit” at the top of the screen, click on “Undo” when it shows up and Voila! the photograph is ready to try something else wild.
 rewedging. With knitting, “tink”* is the new word for unknitting. With crochet, one tug on the strand and it ravels as if watching animation. Drawing not making the mark? Turn the paper over and start afresh. Is the typewriter spewing drivel? Zip out that paper, tear it up, toss it in the blender with water and make a cast-pulp sculpture tribute to your Muse.
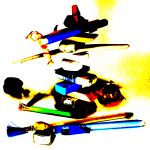 Creativity is a PROCESS. Sometimes it seems one step forward and 90 steps backwards. Well, isn’t that choreography? – ah ha! more creativity!