
Back in the Olden Days* people used to cough and sneeze into a handkerchief.
Medical masks have a strict criteria and are precisely made with specialized materials. Outside of that world, homemade masks can help reduce the outward spray of droplets from a cough or sneeze. Think of Homemade Masks as a constantly worn handkerchief.
With experience in garment making we were full of suggestions for handsewn masks (consider a box pleat rather than knife pleats, etc.). Then we figured that everyone with that skill set is already problem-solving and has advice to offer to us!
So this blog post will focus on coming up with creative solutions to cover your nose and mouth using materials at hand.
A brief note about our Styrofoam Head Model: nothing fits her well – she has no ears!
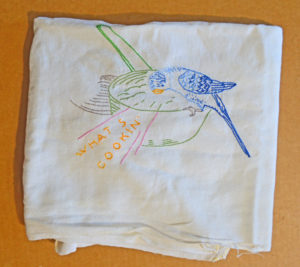
Dish Cloth Bandhana
This idea is a good grab and go, launder often option. This is big enough to cascade over the shoulders.
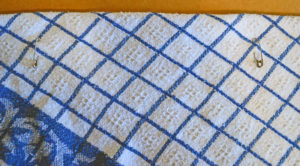
Our Great Grandmother embroidered this dish cloth:
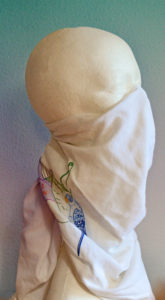
Kitchen towel mask – a more secure variation.
Also, it has the advantage of being able to eat and drink through a straw while wearing.
Supply list
- woven towel (this one is from a $store)
- two safety pins (or sew on buttons or snaps)
- Gift ribbon (or anything long and flexible like shoe laces, strips of fabric, etc. . .)
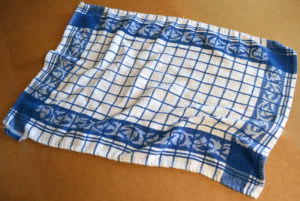
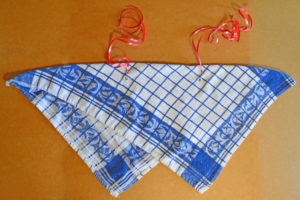
Fold towel on the diagonal. The bias allows the material to curve up over the nose better.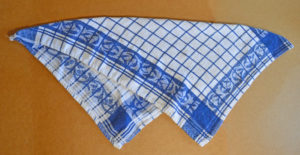
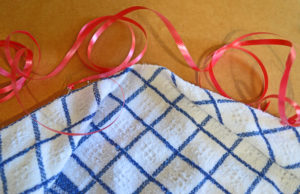
Measure your face by stretching your hand pinky to thumb from temple to temple. Place two safety pins this far apart , centered, one inch from the folded edge. Make certain that the points are aimed down, away from your eyes. Or stitch on the ribbon ends in the third step.
Tie on ribbons to the pins, or stitch on, long enough to tie around your head.
Fold down the excess fabric above the pins so that it points to the center.
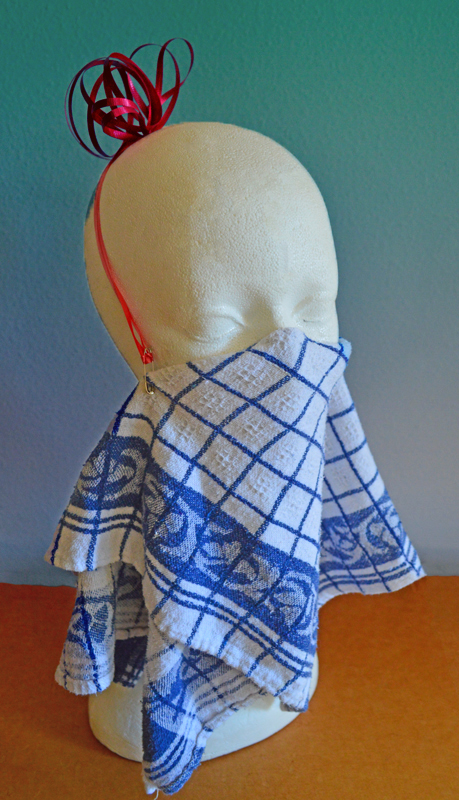
Front view:

Back view:
All finished!
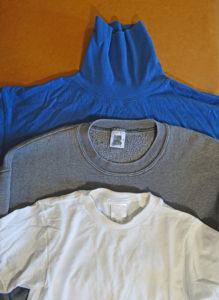
Clothing, worn backwards
This has a couple advantages. It can match a uniform if a Deemed Essential Job requires it. And probably more importantly, small children may be willing to play the “Let’s wear our shirts backwards game ” or more simply “Let’s dress silly today!”!
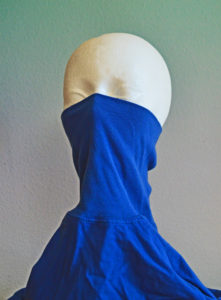
Notice on this turtleneck, sweatshirt and t-shirt how the back of the necks are cut higher than the fronts. This extra fabric can cover the mouth and nose if worn backwards. This is a good way to use outgrown clothing, a child’s size t-shirt makes a good mask for an adult woman, or temporarily stitch the neck smaller to fit as we did for the sweatshirt on the mannequin photograph.
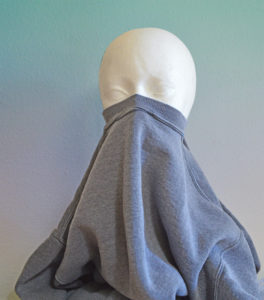

You can increase the barrier with a second step. Pin or stitch the sleeves in front:
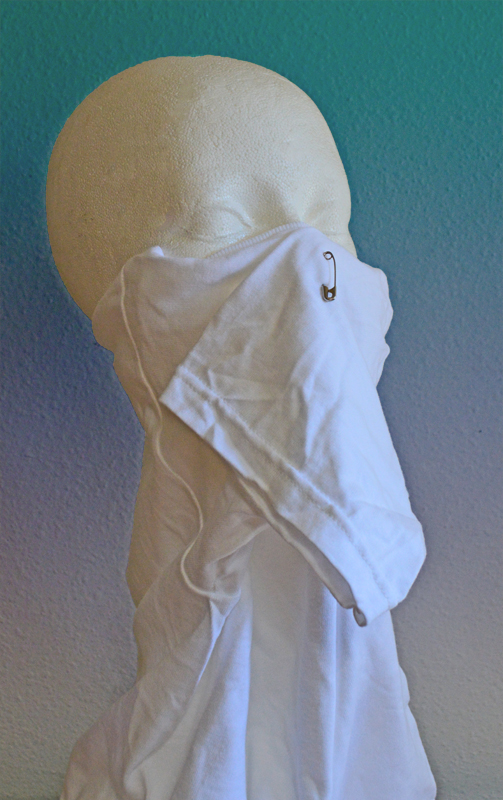
Clothing, a more fitted version.
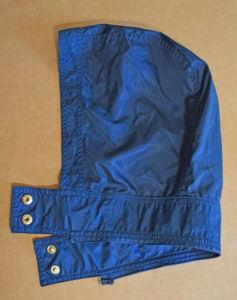
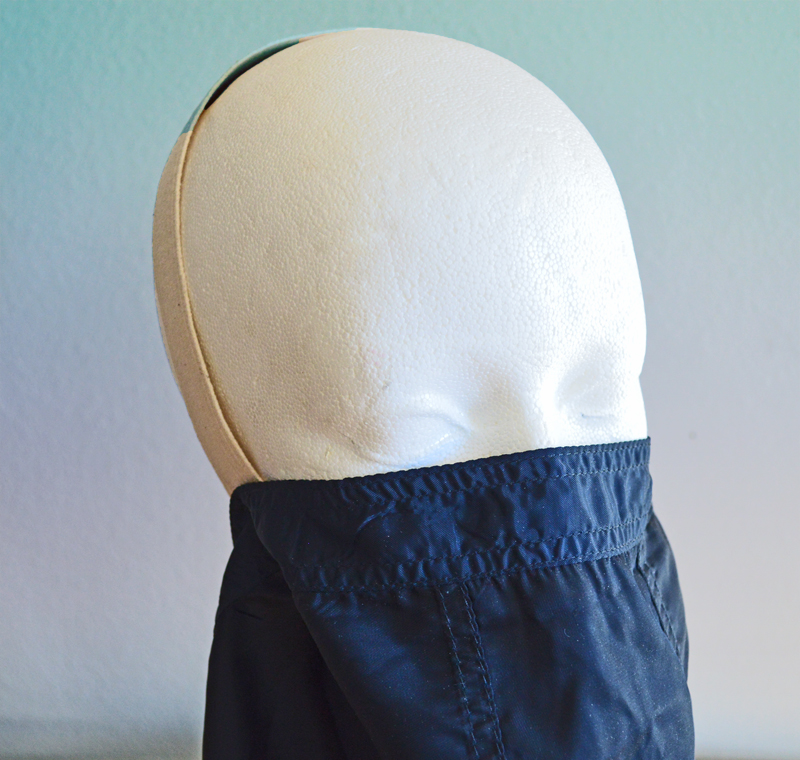
Wear a hoody backwards! Notice how the curve of the hood matches a facemask curve. Attach ribbon, cords, yarn or fabric tapes with snaps, buttons, safety pins (point away from the eyes!), staples or even sew on. Use a garment with an attached hood, or a detachable one for more freedom of movement.
Please remember to let your Creativity in on your problem solving. You may be surprised at what your intuition inspires!
- Be Resourceful
- Be Mindful
- Be Thoughtful
- Be Well
We hope this helps ease some worries.
from Allyson and Kristin
*When men used to tuck in their shirts and women wore their underwear under clothes!
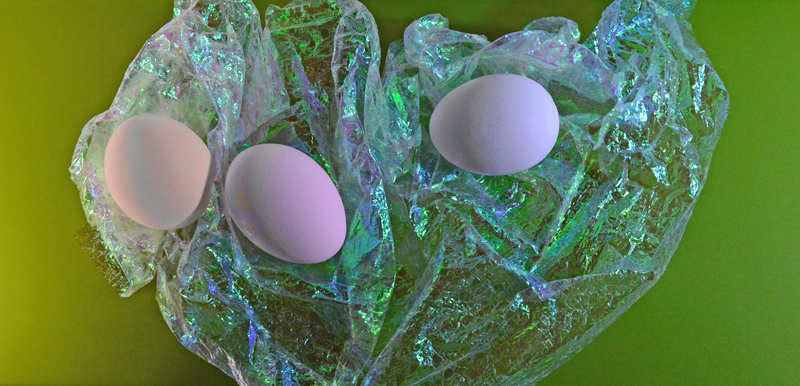


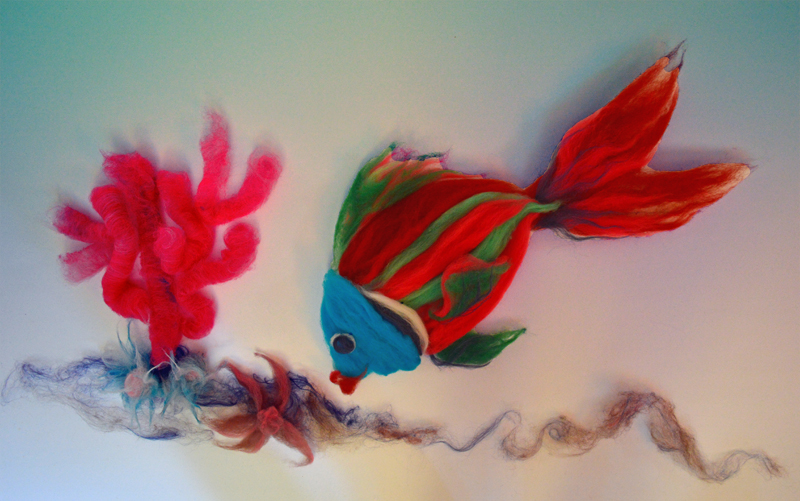
 From the previous posting you can tell that for the third example in this series not only are we warmed up, but we are also starting to have fun with the whole layout and photograph part of the project. That is the benefit of an exercise, getting really “into it” and stretching the original ideas (and letting yourself be stretched in the process).
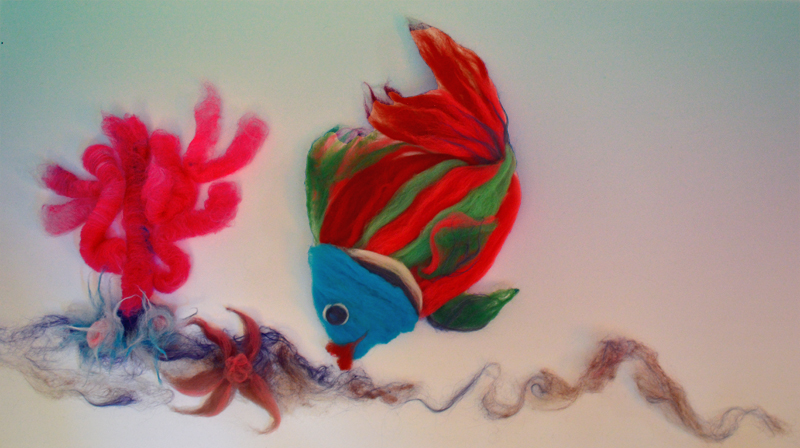
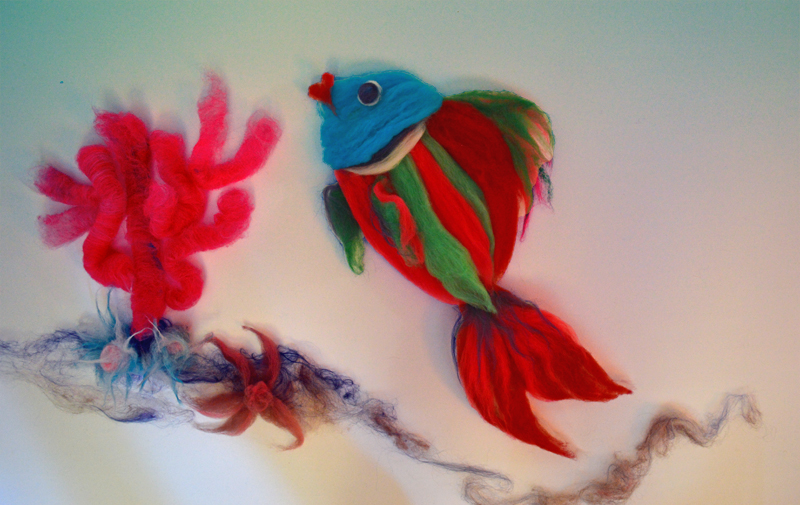
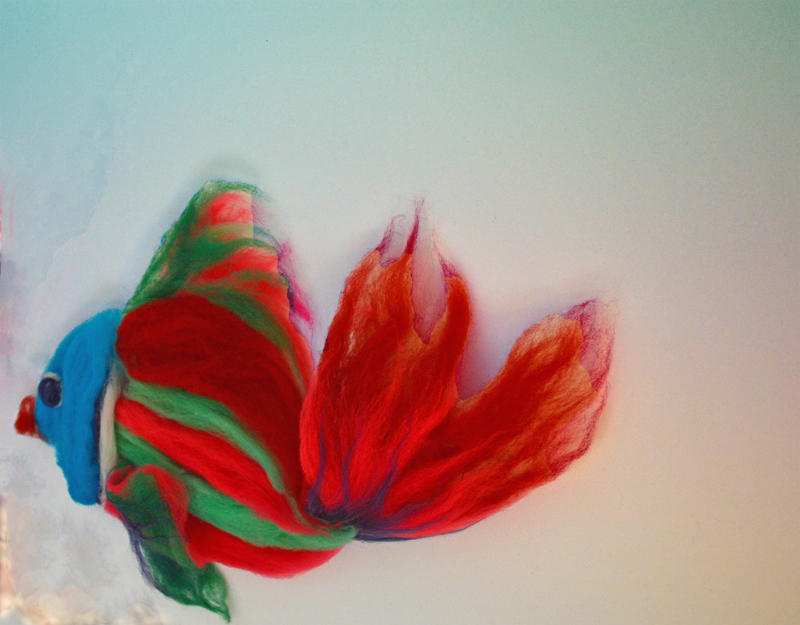
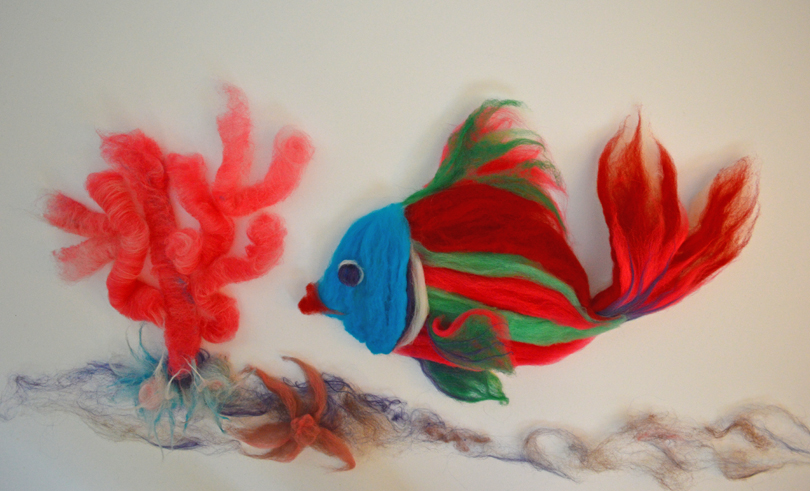 Kissy Lips, a Rare Roving Fish with Rolag Coral and Anemones (the starfish worked its way in when we weren’t looking!)
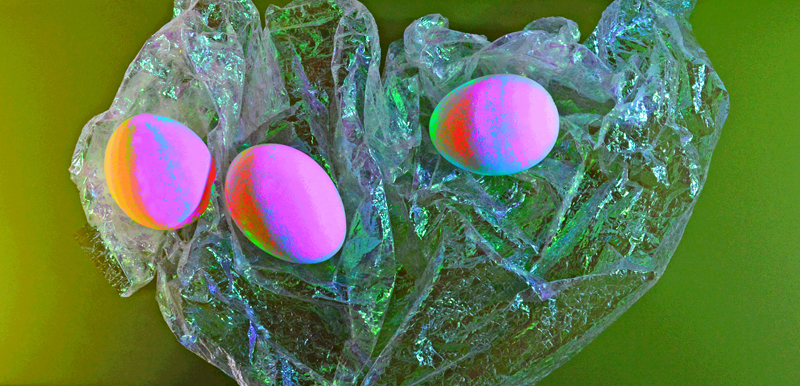
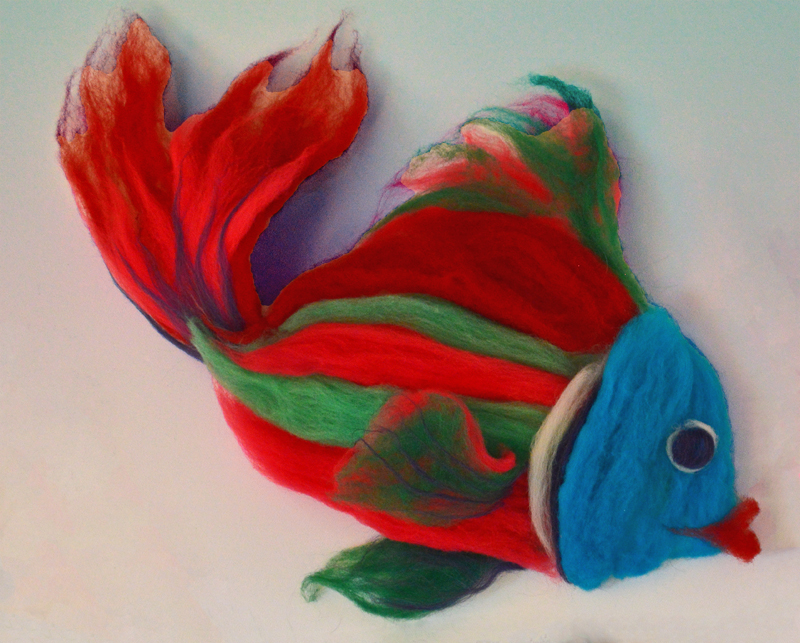
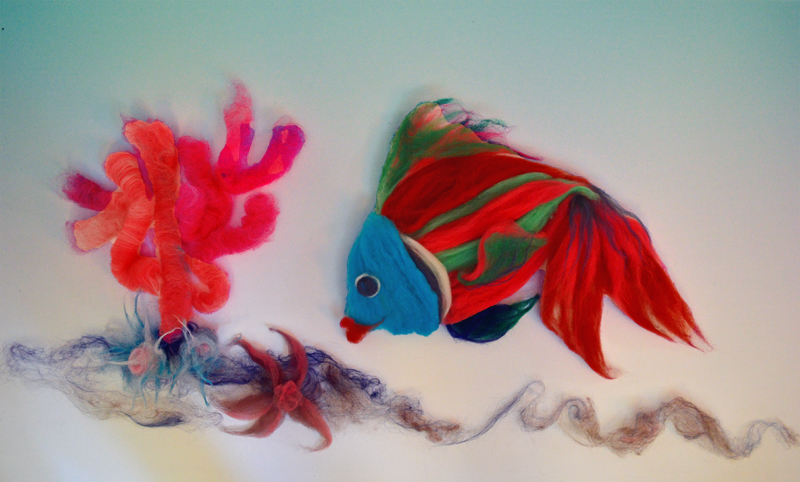
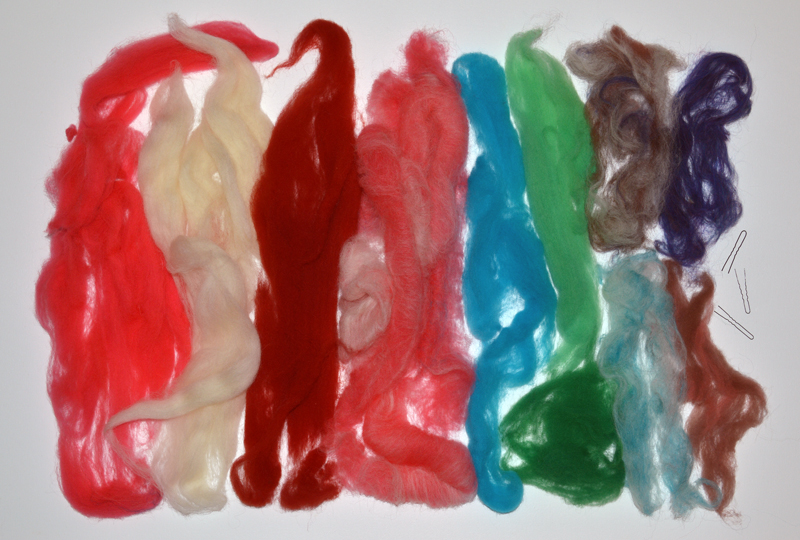 The wool colors that made up the Kissy Lips composition, including the hairpins that held it all together.
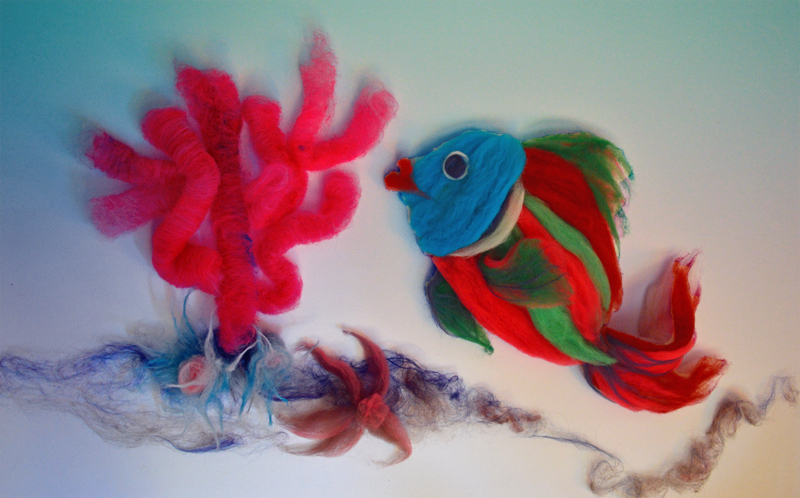
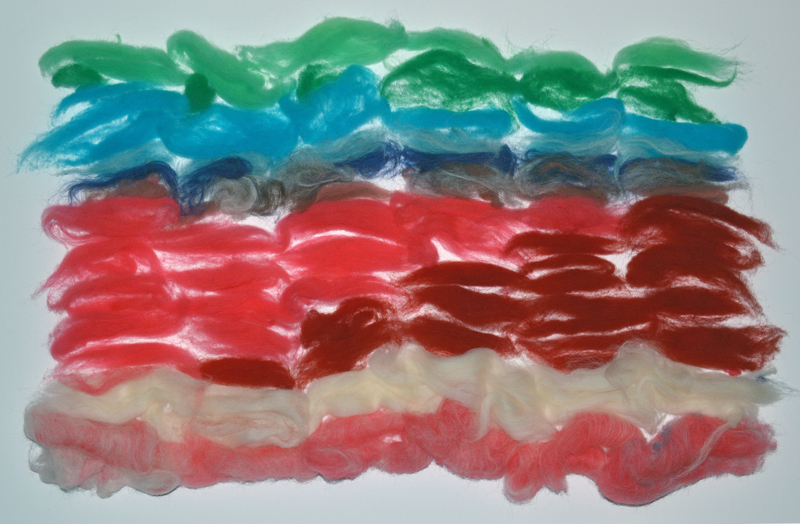 Dividing up the colors in preparation for carding. This stage helps to plan out the color progression throughout the skein. I think of it as creating a recipe for the yarn.
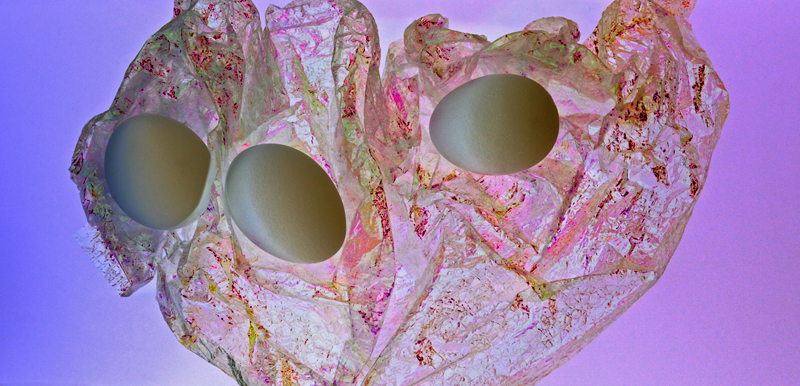
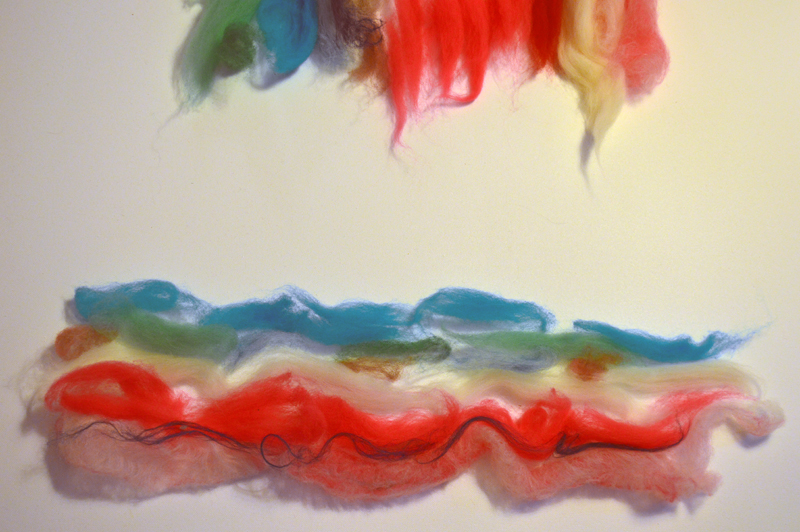 Further dividing up the wool for carding into each rolag.
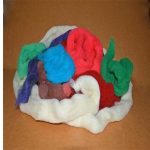
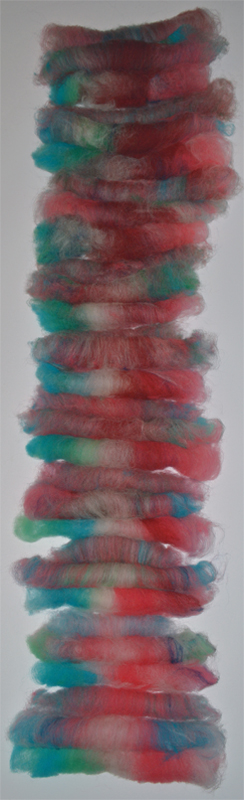 All the carded rolags in order waiting to be spun. So far, none of this project has been somber!
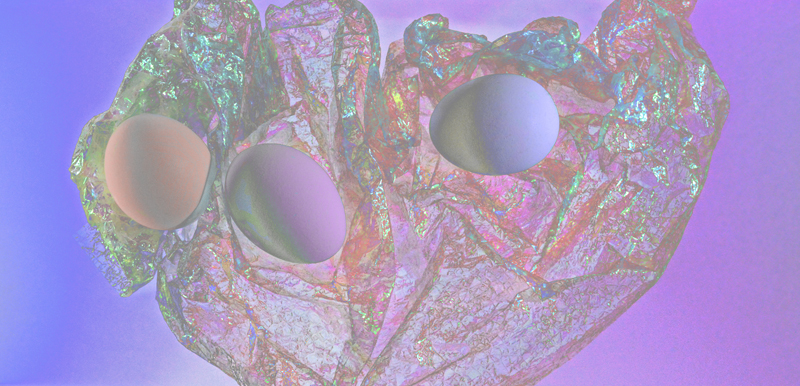
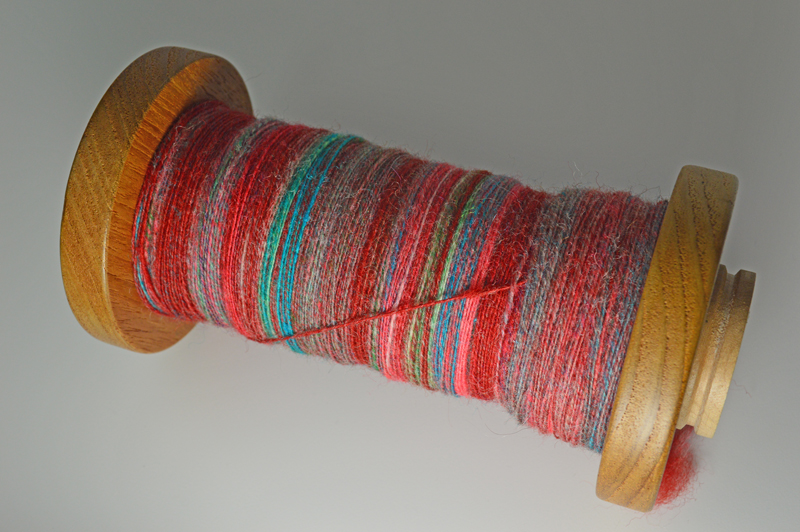 Working name: “Farrell’s Ice Cream Parlour”. Lively single S-twist yarn spun and wound onto a bobbin made by Bob Metcalf. As the carded wool transformed into yarn, the colors passing by reminded me of that famous ice cream parlor from our childhood, recalling smells and sounds (that drum that announced birthday sundaes was SO loud!) and brought back memories for friends too when I described the sensations.
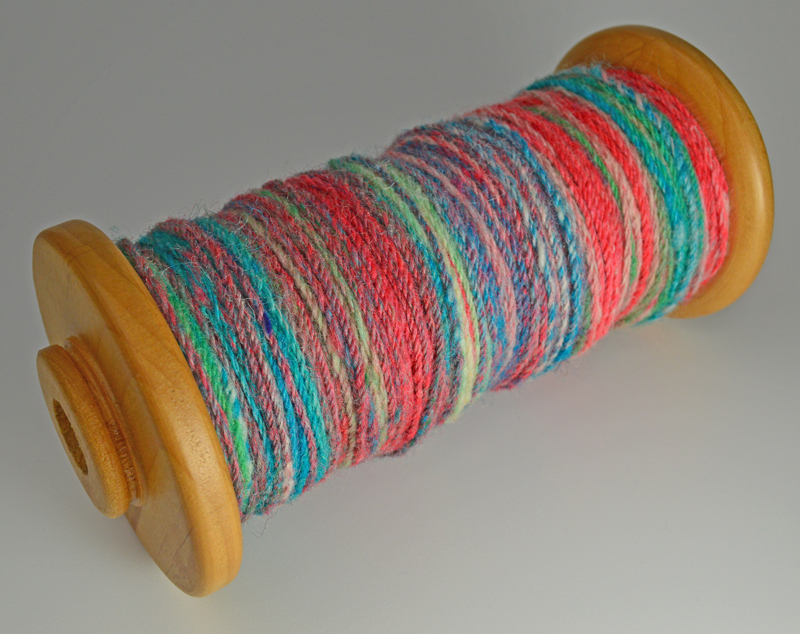 The single was chain-plied with a “Z-twist” forming new color combinations throughout the length of the yarn. This time, instead of the yarn stirring up memories, the colors gave me ideas of combinations to try in the future. Every few inches was a color mixing sample swatch. More wool! More yarn! More time! Please!
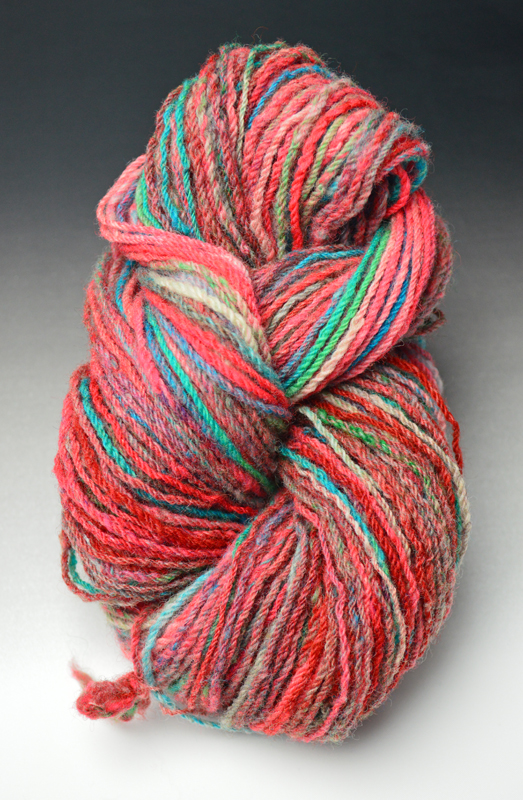 Finished skein.
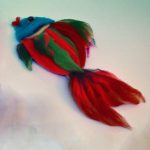
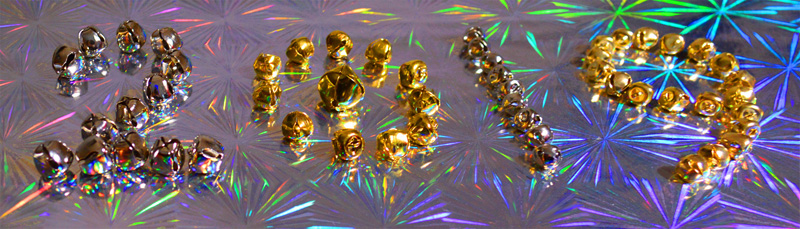 “Ringing in 2019!” by Allyson and Kristin Metcalf
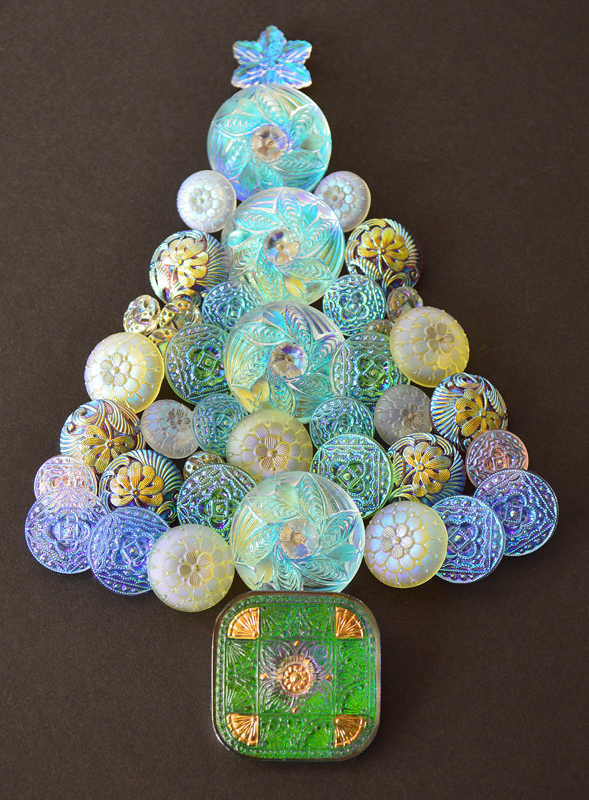 Christmas Button Tree by Allyson and Kristin Metcalf
 Grateful for Simple Blessings, By Allyson and Kristin Metcalf
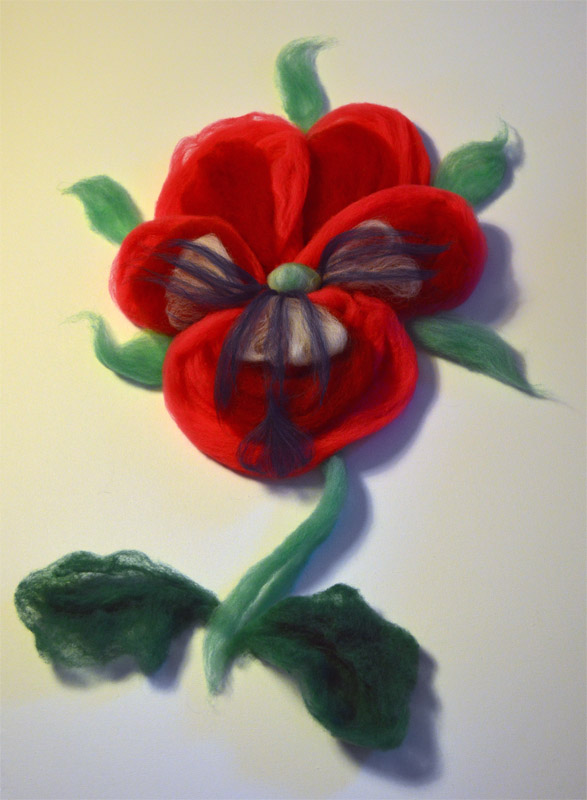 Hand-dyed *Heartsease
 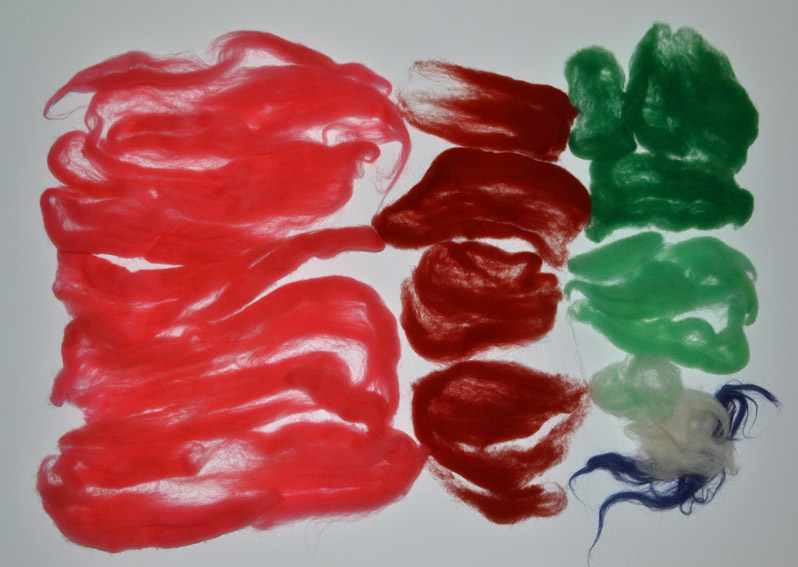 Fiber that went into the Heartsease. Ready for the next stage . . .
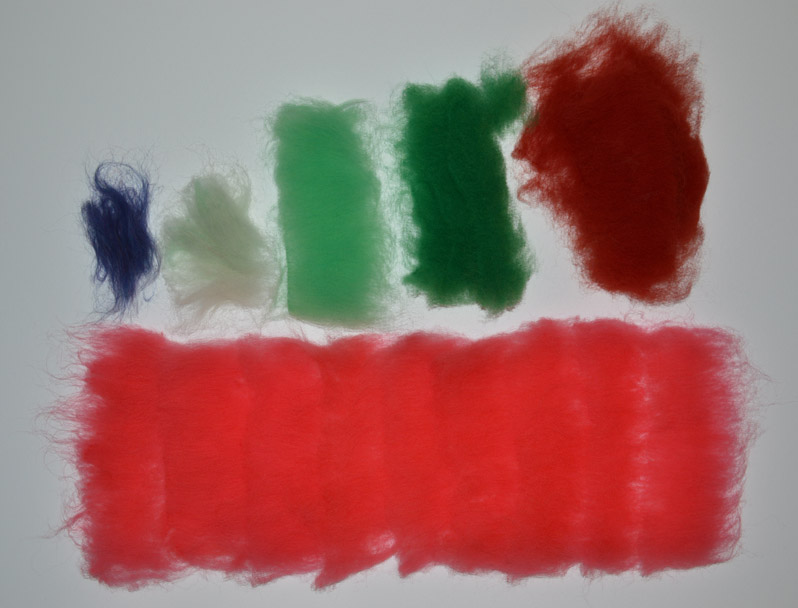 A light carding was just the thing to let those fibers draw out! Here, arranged by colors.
 Trying out another way to arrange the colors in the skein (works well in small spaces and with minimal equipment). Perhaps this will lead to a series of wool omlettes, burritos, or Dagwood Sandwich!
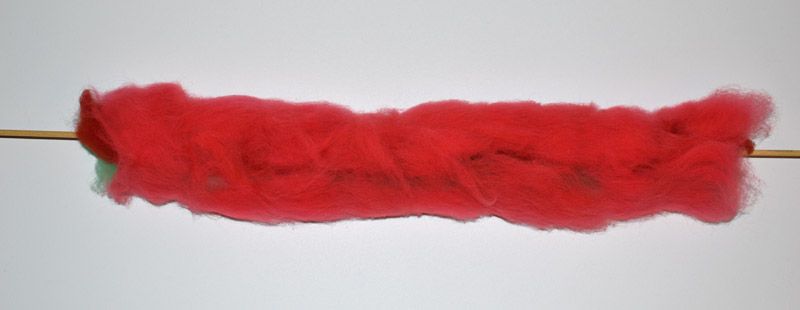 After arranging the fiber colors in rows and layers, a wooden dowel helps to roll everything in a tidy cylinder.
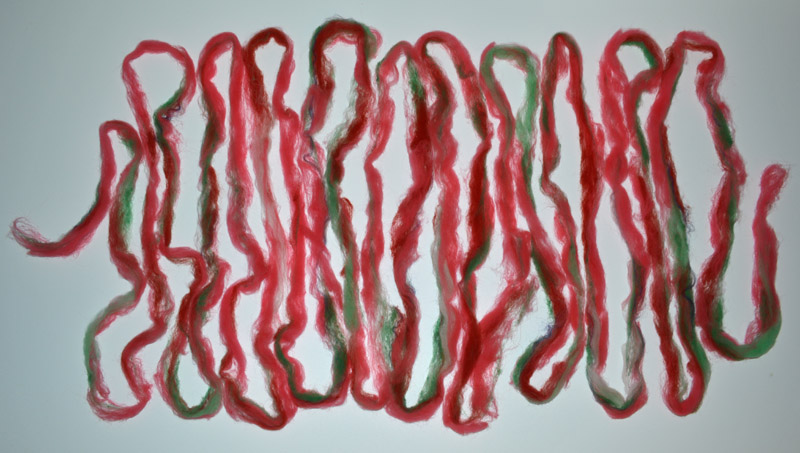 The next step is to patiently draw out the roll of fibers into a progressively thinner and longer bundle, this stage is called “pre-drafting”.
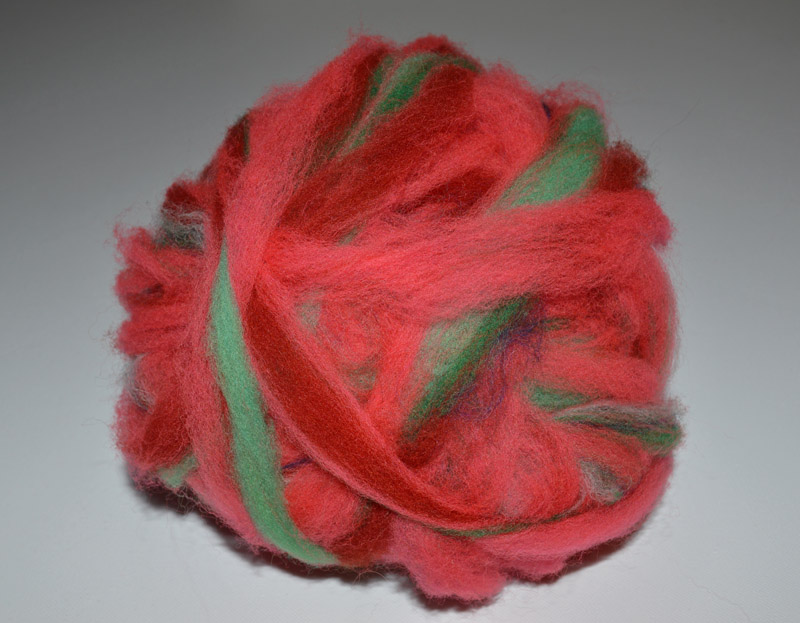 Gently rolling the pre-drafted fibers into a ball keeps everything from drifting apart and keeps it in handy proximity for spinning. Plus, it is fun!
 Yarn spun into a “single”.
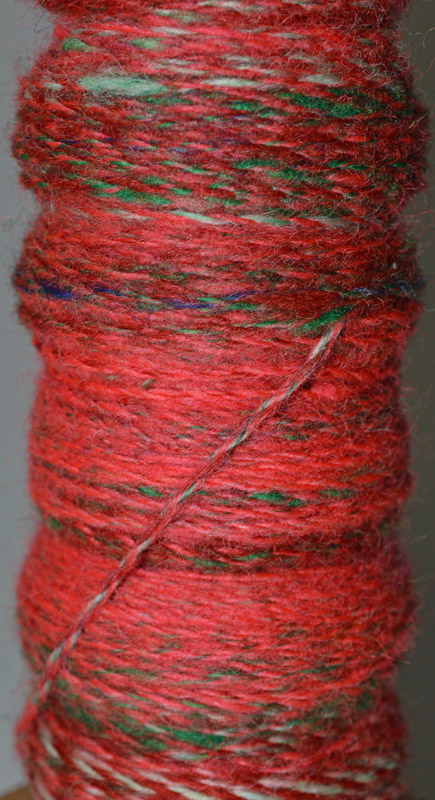 Yarn doubled back on itself and respun into a plied yarn.
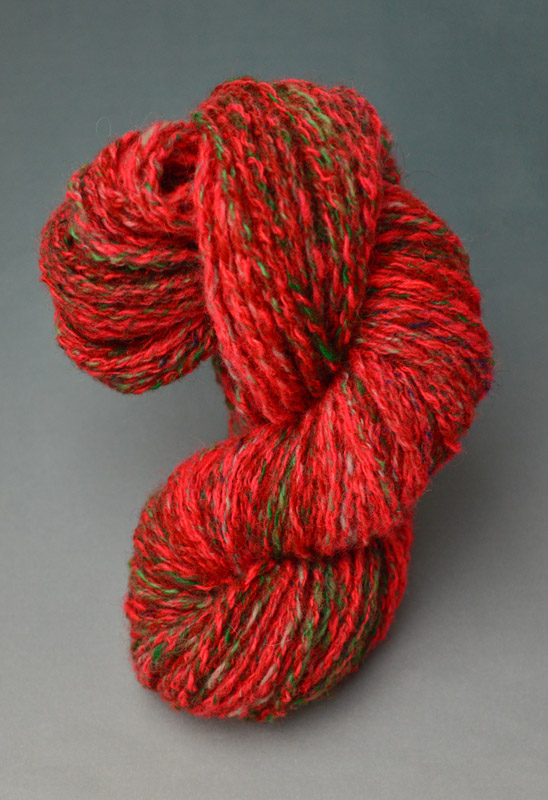 Final product is a skein as cheerful as a Heartsease!